
Create a Course Core
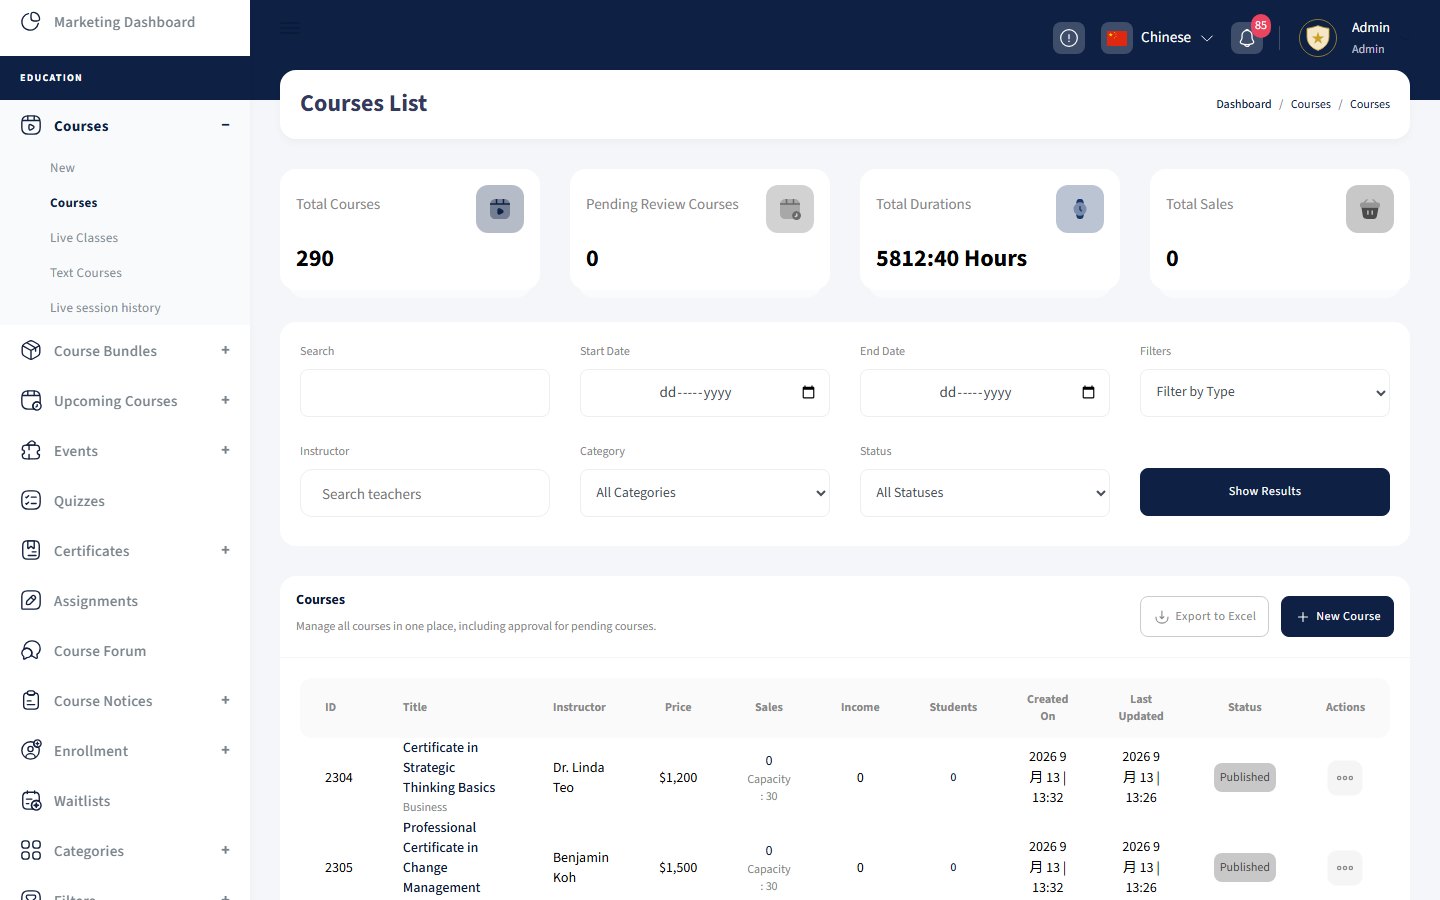
Live screenshot from the SOQ beauty demo (aiacademy.aiee.dev). Controls in the image are not clickable.
Instructors and organizations publish learning products through the 8-step course creation wizard. Open it from Create course in the header, or Instructor panel / Courses / New. i
What this wizard is for
The wizard is the single place to define a course’s identity, commercial rules, curriculum, learning path, FAQs, assessments, and submit it for publication. Completing all 8 steps creates a draft that admin reviewers can approve or reject.
Business lifecycle: create → review → learn
Tip: keep a short reviewer message in Step 8 when the course needs special attention (capacity, partner instructors, or pricing plans).
Wizard process workflow (8 steps)
- 1 Basic info Type, title, media, SEO
- 2 Extra info Capacity, support, tags
- 3 Pricing Price, plans, subscribe
- 4 Contents Sessions, files, lessons
- 5 Prerequisites Required or optional
- 6 FAQ Q&A accordions
- 7 Quiz / cert Assessments
- 8 Confirm Terms + submit
You can move back to earlier steps before final confirmation. Content and pricing can still be edited after save, subject to review rules.
Choose the right course type i
Live
Scheduled sessions via Zoom, BigBlueButton, Google Meet, or a custom meeting link.
Use when: cohort training with live attendanceCourse
Self-paced video / file curriculum. Students unlock materials after enrollment.
Use when: evergreen on-demand learningText course
Page-based lessons with HTML content, study time, and optional attachments.
Use when: reading-first or policy trainingEvery type supports downloadable files and mixed attachments. The type only changes the primary learning experience, not whether files are allowed.
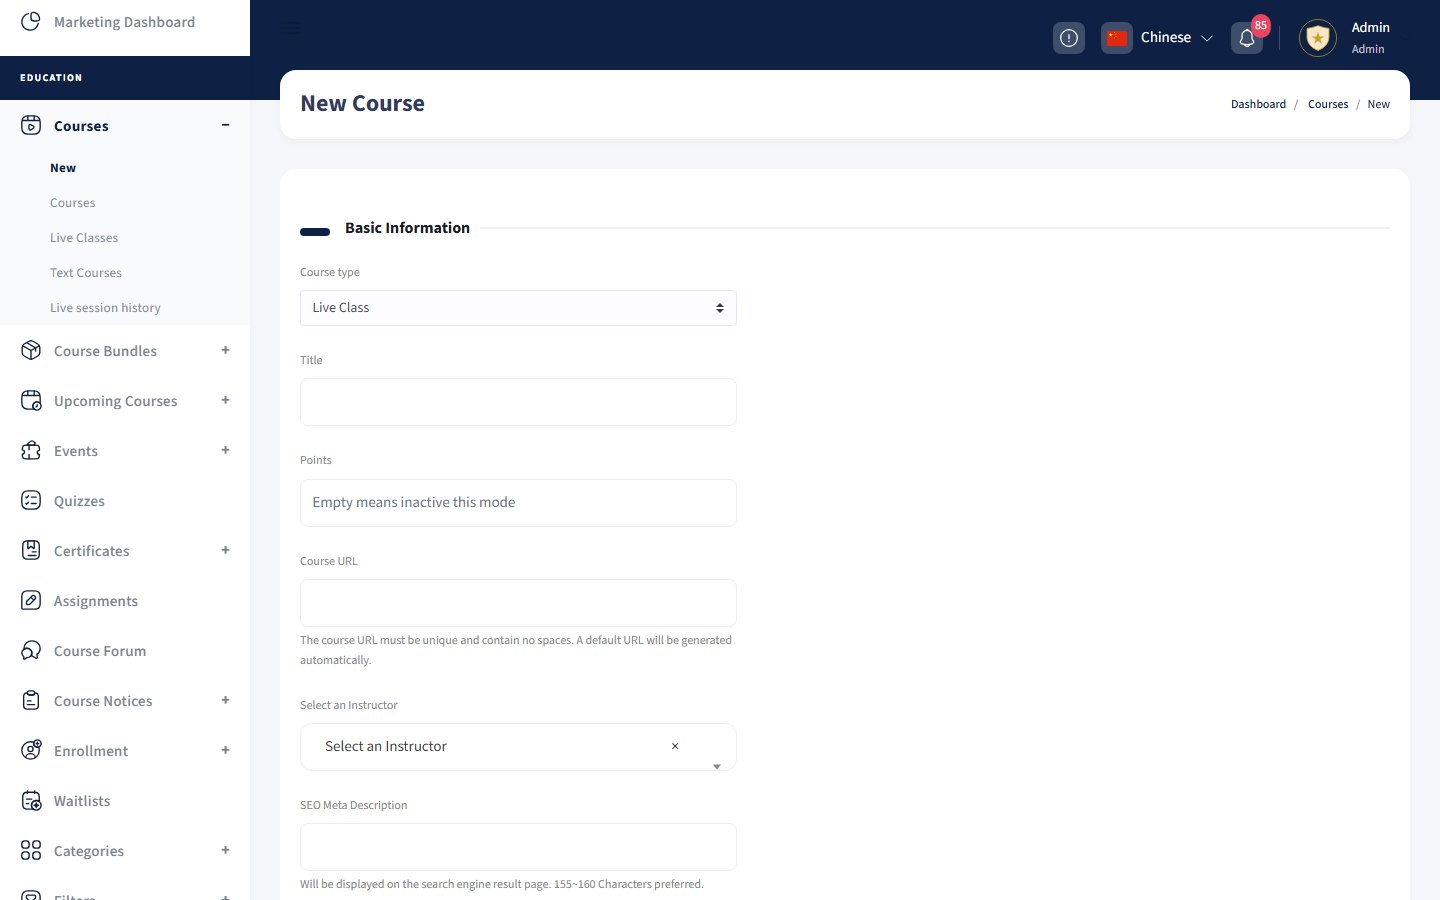
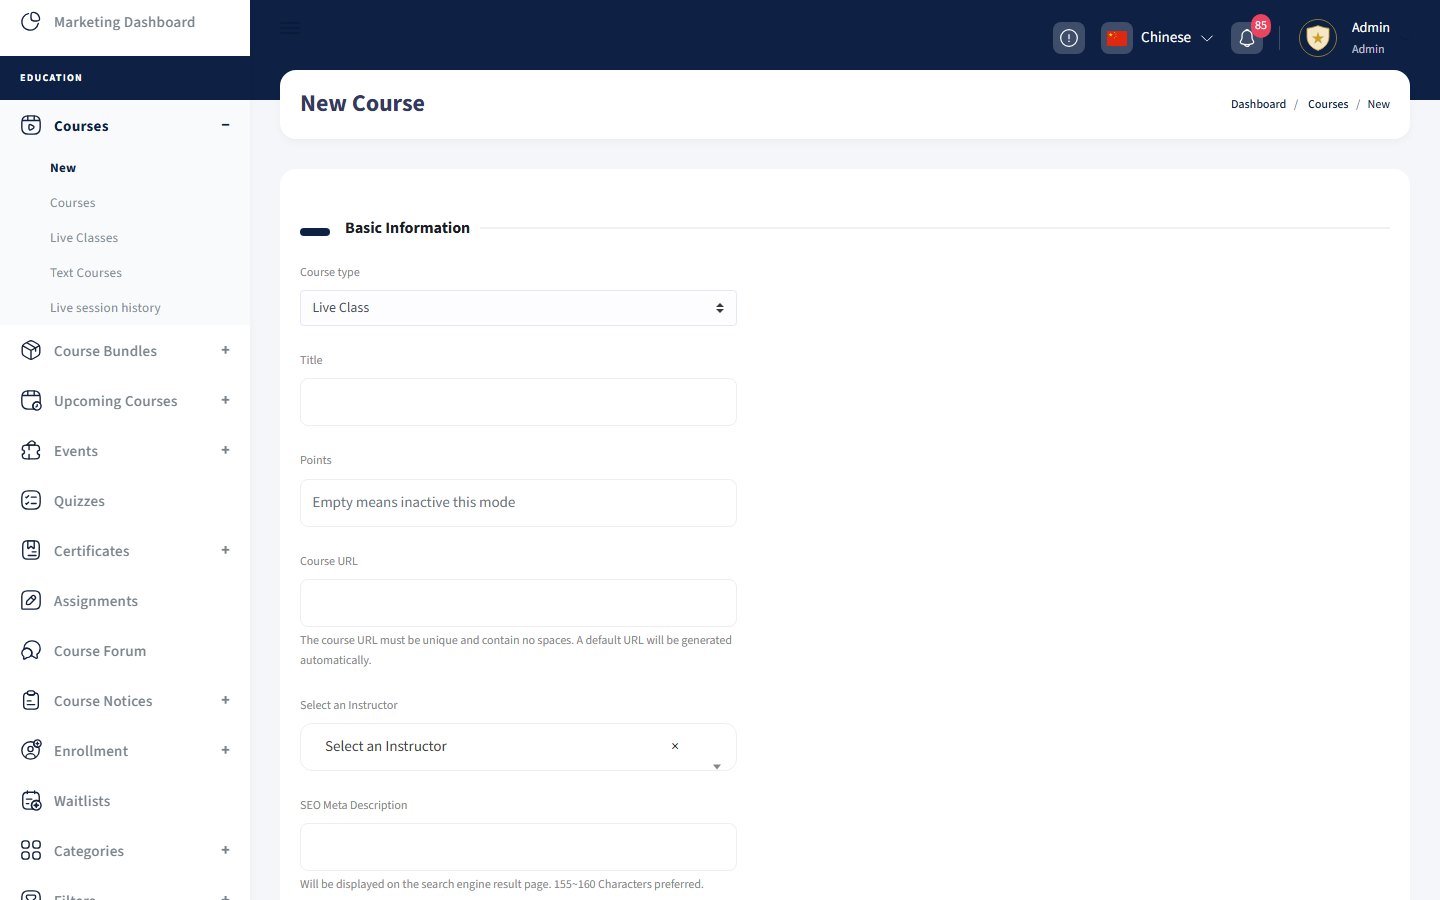
Illustrative screenshot — Wizard Step 1 of 8 — Basic information. Screenshot controls in this image are not clickable and may not match the current live UI.
Step 1 — Basic information
What you do here
Define the course identity: type, title, SEO text, thumbnail, cover, demo video, and long description.
Field / control guide
- Class type: Live, Course, or Text course. i
- Title: Max 64 characters. Clear and searchable.
- SEO description: 150–160 characters for search results (not shown on the site storefront).
- Thumbnail: Card image — preferred 360×250px.
- Cover image: Course page banner — preferred 1920×530px.
- Demo video: Opens in a popup when users click the thumbnail.
- Description: Marketing + syllabus copy on the course page. Aim for 300+ words for SEO.
Pitfall: A weak title/SEO description hurts discovery. Write the public promise first, then fill media.
Illustrative screenshot — Wizard Step 2 of 8 — Extra information. Screenshot controls in this image are not clickable and may not match the current live UI.
Step 2 — Extra information
What you do here
Configure delivery rules that differ by course type: capacity and schedule for live classes, plus support, download marketing flags, partners, tags, and category filters.
Field / control guide
- Capacity (Live): Max seats. Registration closes when full; shown as a progress bar on cards. i
- Start date (Live): Last date students can purchase. Session dates must be after this.
- Duration: Total course length shown on the public page.
- Support: Enables student support tickets for this course (shown in the course sidebar).
- Downloadable: Marketing flag that the course includes downloadable materials. i
- Partner instructor: Invite co-instructors; they appear on the page and under Invited classes.
- Tags / Category: Discovery metadata and category filters on the storefront.
Turn the course-level Downloadable toggle off if videos should stream-only, while still attaching downloadable project files with their own Download toggles enabled.
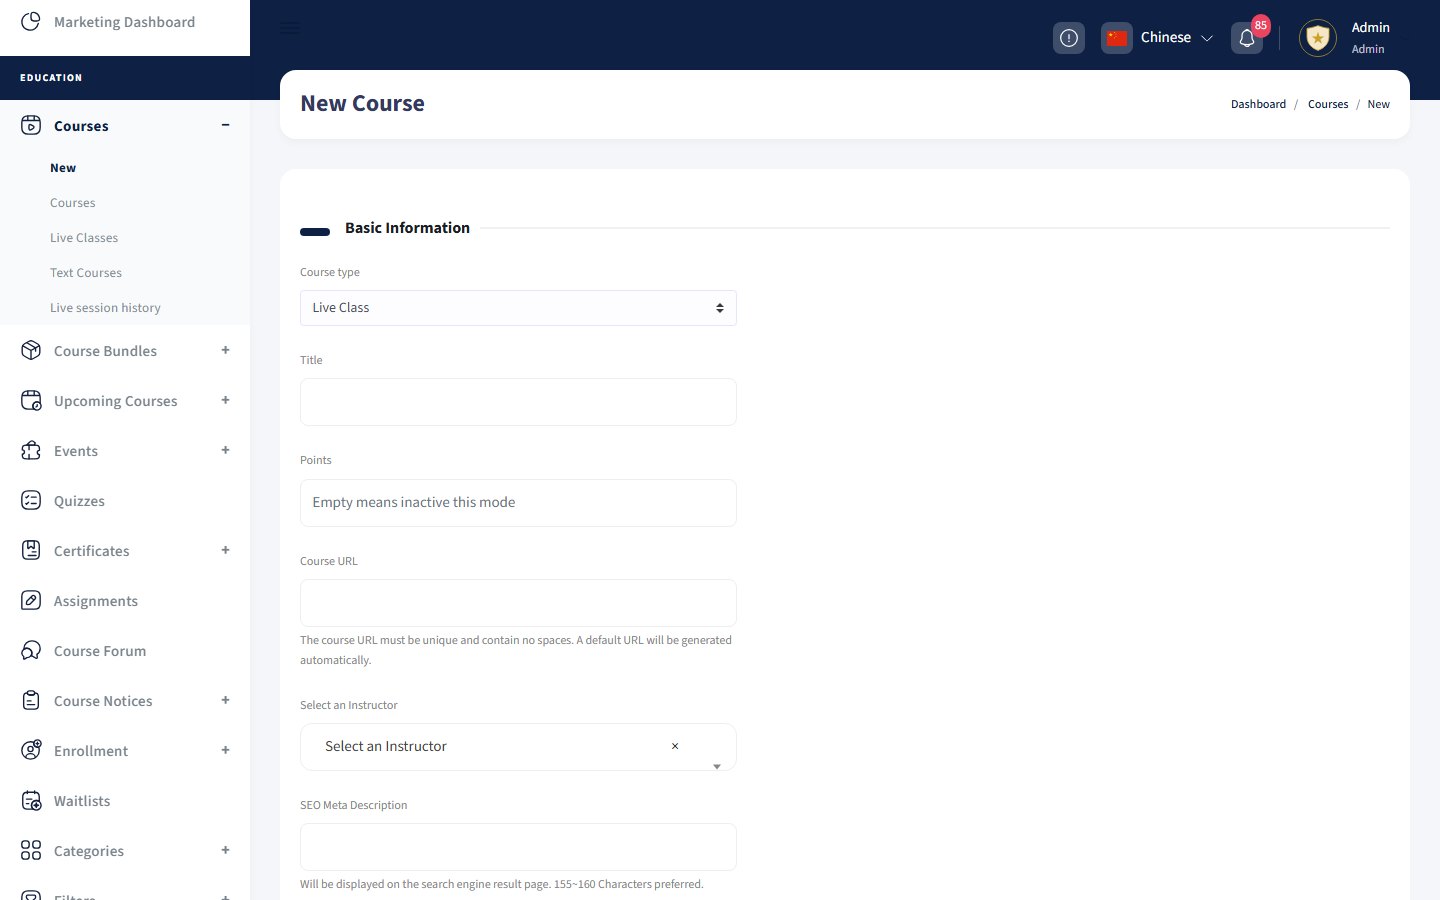
Illustrative screenshot — Wizard Step 3 of 8 — Pricing. Screenshot controls in this image are not clickable and may not match the current live UI.
Step 3 — Pricing
Commercial workflow
Set base price (or free), optional subscription access, and time/seat-based sales plans that encourage early enrollment.
Pricing decision flow
- A Free? Price = 0
- B Paid Set base price
- C Subscribe? Allow plan enroll
- D Sales plans % off by seats/date
Field / control guide
- Subscribe: Lets members enroll via the subscribe system without a one-off purchase.
- Price: Amount charged at checkout. Use 0 for free courses.
- Sales plans: Optional discounts by student count and/or date window.
30% off for the first 10 students · 50% off for two days after publish · 20% off for 5 students on launch day. Plans auto-disable when capacity or date expires.
Pitfall: Sales plans are optional. Discounts stack on the course price. For live classes with capacity, remaining seats appear under the plan capacity input.
Illustrative screenshot — Wizard Step 4 of 8 — Contents / curriculum. Screenshot controls in this image are not clickable and may not match the current live UI.
Step 4 — Contents i
Curriculum structure
Use sections/chapters to group sessions, files, or text lessons. Unassigned items appear in a general list. Quizzes can be attached to a section and show at the bottom of that chapter.
Content build workflow
- 1 Add section Chapter / module
- 2 Add items Session / file / lesson
- 3 Set access Free preview or paid
- 4 Attach quiz Optional per section
A. Live sessions
- API: Zoom, BigBlueButton, or other provider.
- Link / Password: Auto-generated for Zoom/BBB API; otherwise enter manually for students.
B. Files (video courses, assets, projects)
- Accessibility: Free (preview) or Paid (enrolled only).
- Source: YouTube, Vimeo, Local upload, Google Drive, or iframe embed.
- Downloadable: Allow download vs stream/play only. Prefer on for non-video files.
C. Text lessons
- Title / Study time / Image: Shown on the lesson page and list.
- Attachments: Link files already added to the course.
- Summary / Content: Short teaser on the course page; HTML body on the lesson page.
File source: Google Drive
Use the Drive embed code. Preview the file, open in a new window, choose Embed, then paste the code.
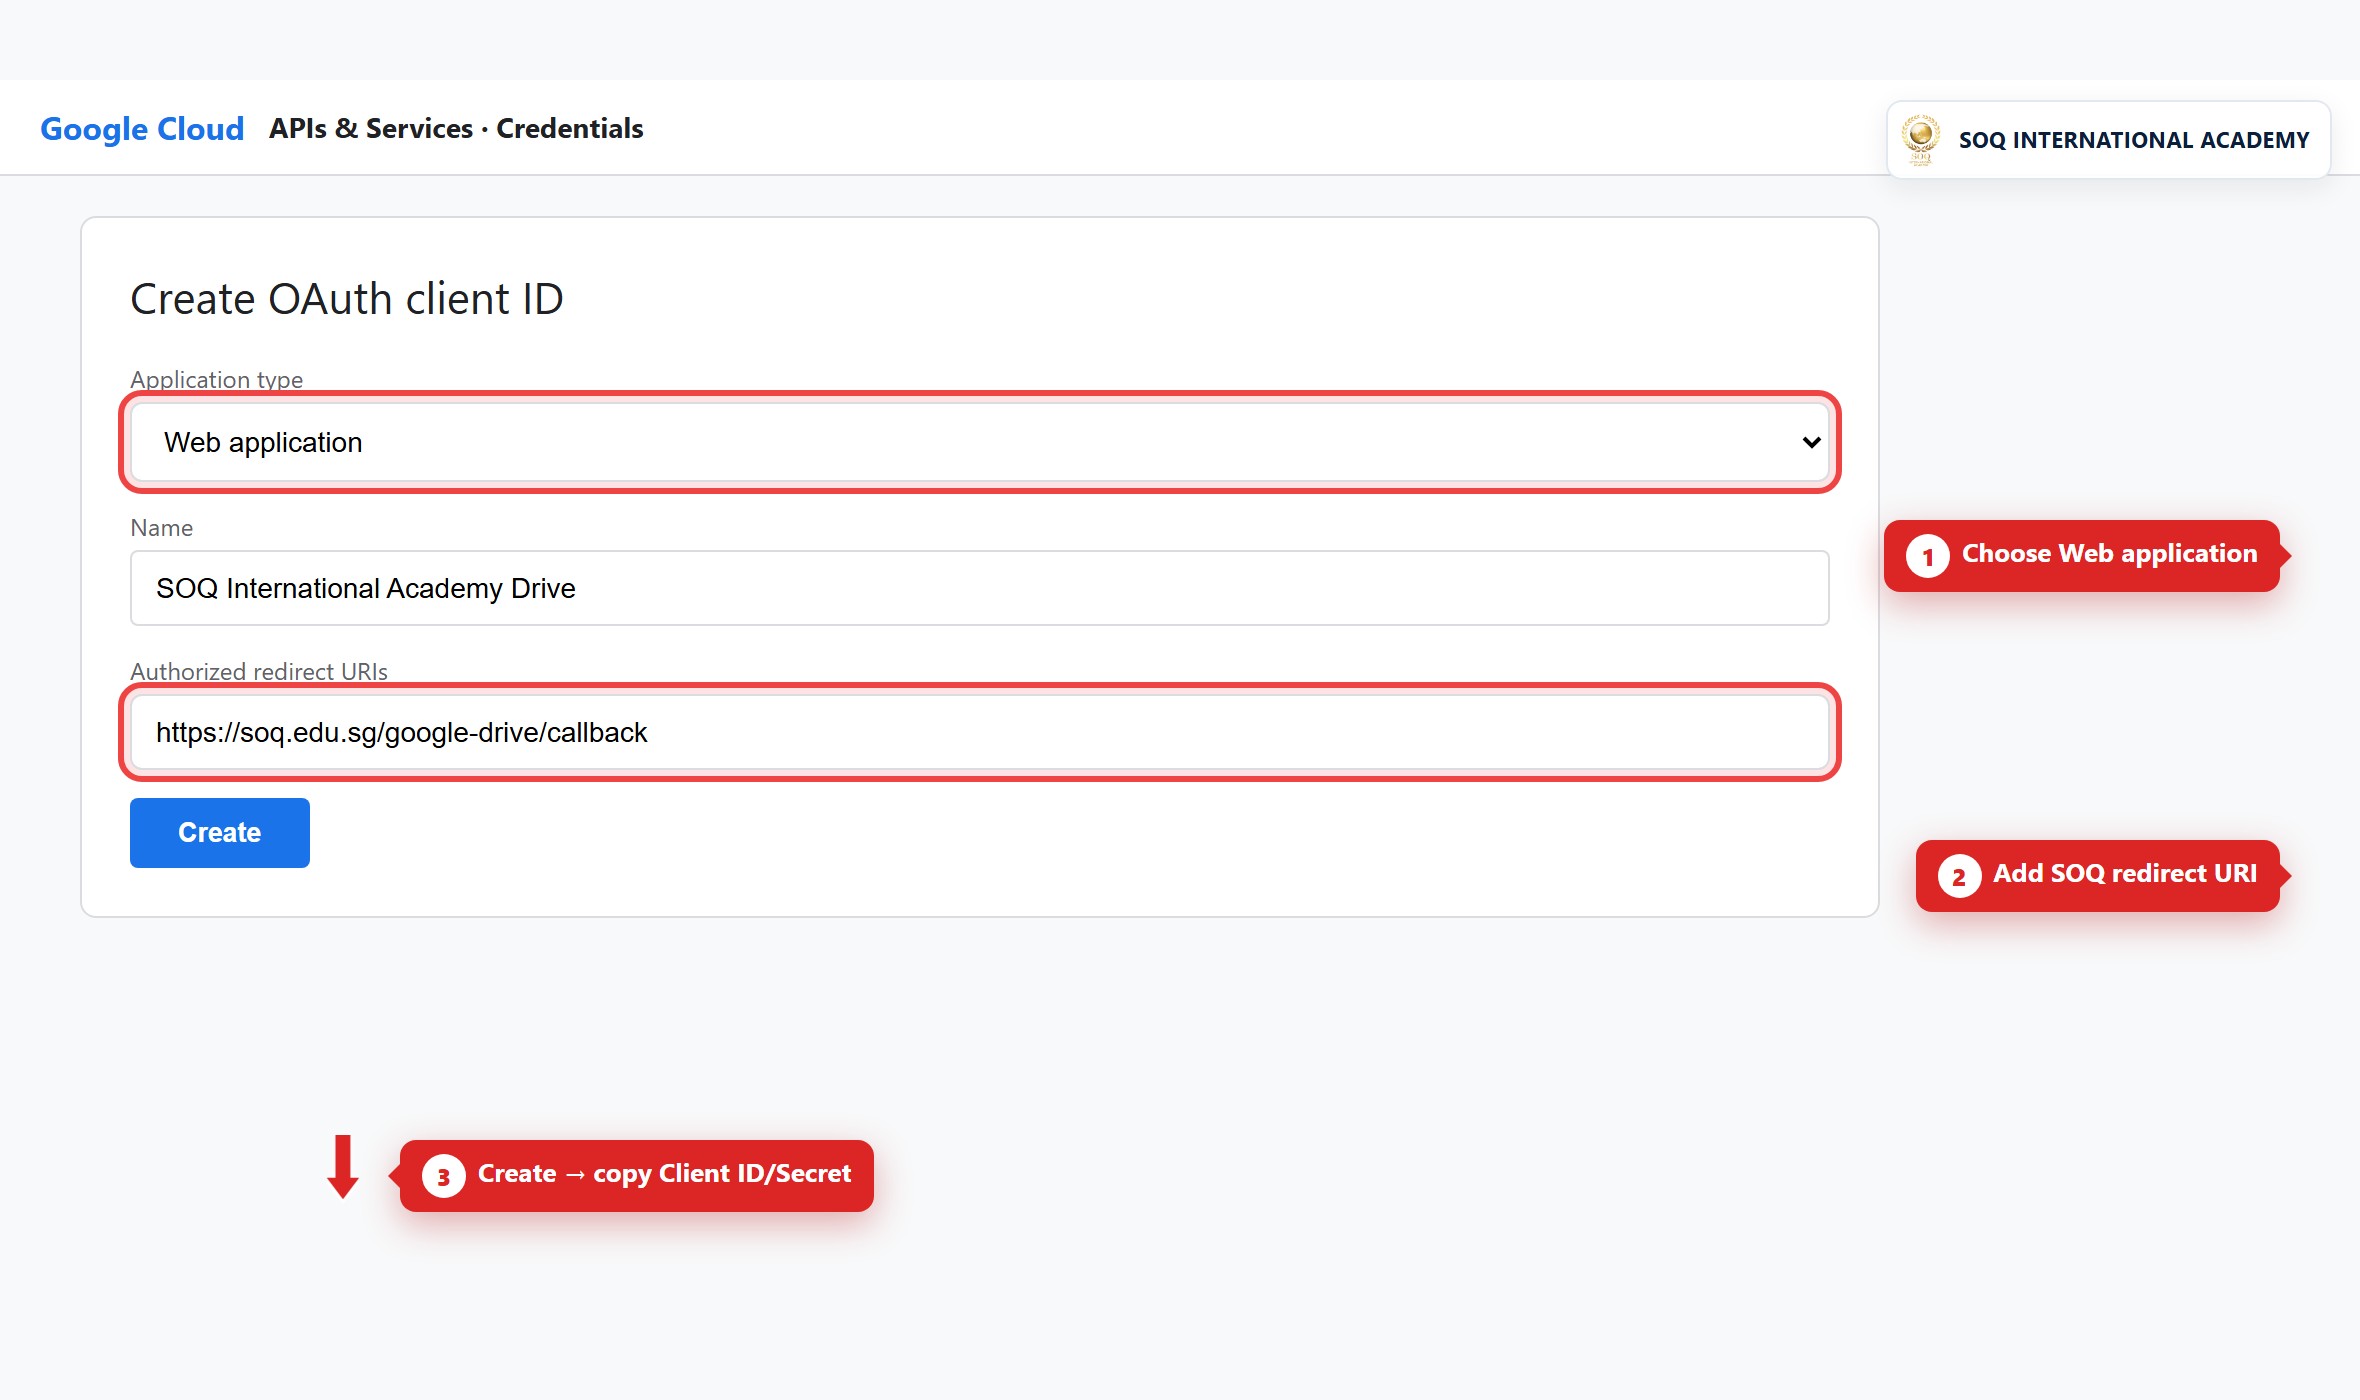
Illustrative screenshot — Google Drive — open file in a new window. Screenshot controls in this image are not clickable and may not match the current live UI.
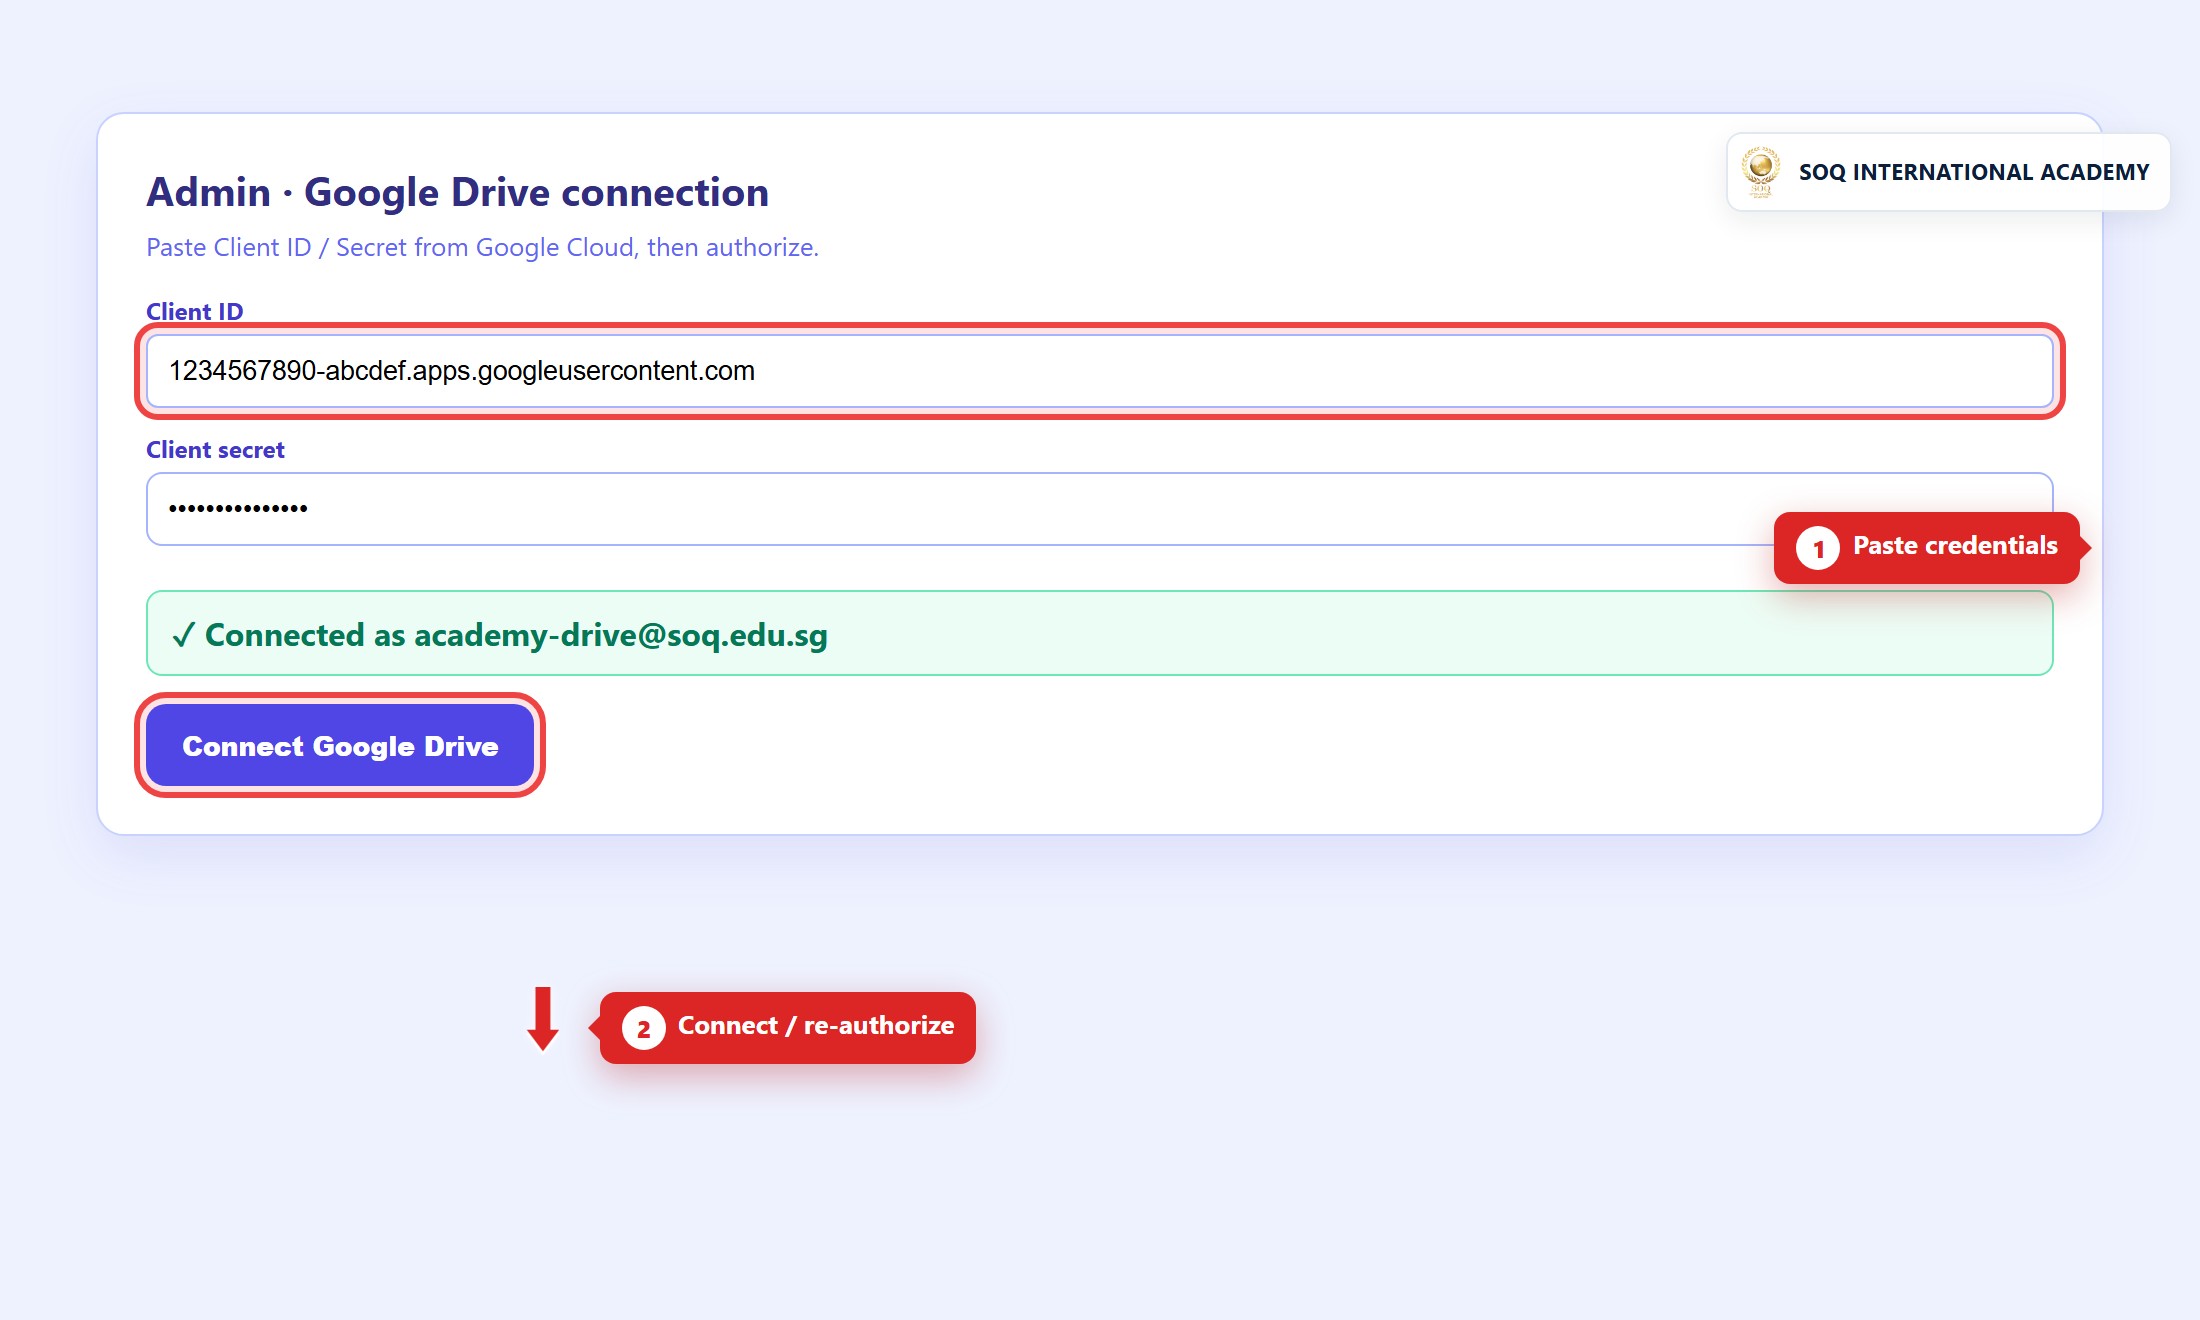
Illustrative screenshot — Google Drive — copy embed code. Screenshot controls in this image are not clickable and may not match the current live UI.
Share the Drive file with “anyone with the link” (or equivalent public access) or students will see an access error.
File source: iframe
Paste the provider’s iframe/embed markup without changes. Many sites label this as Embed.
Illustrative screenshot — iframe / embed source. Screenshot controls in this image are not clickable and may not match the current live UI.
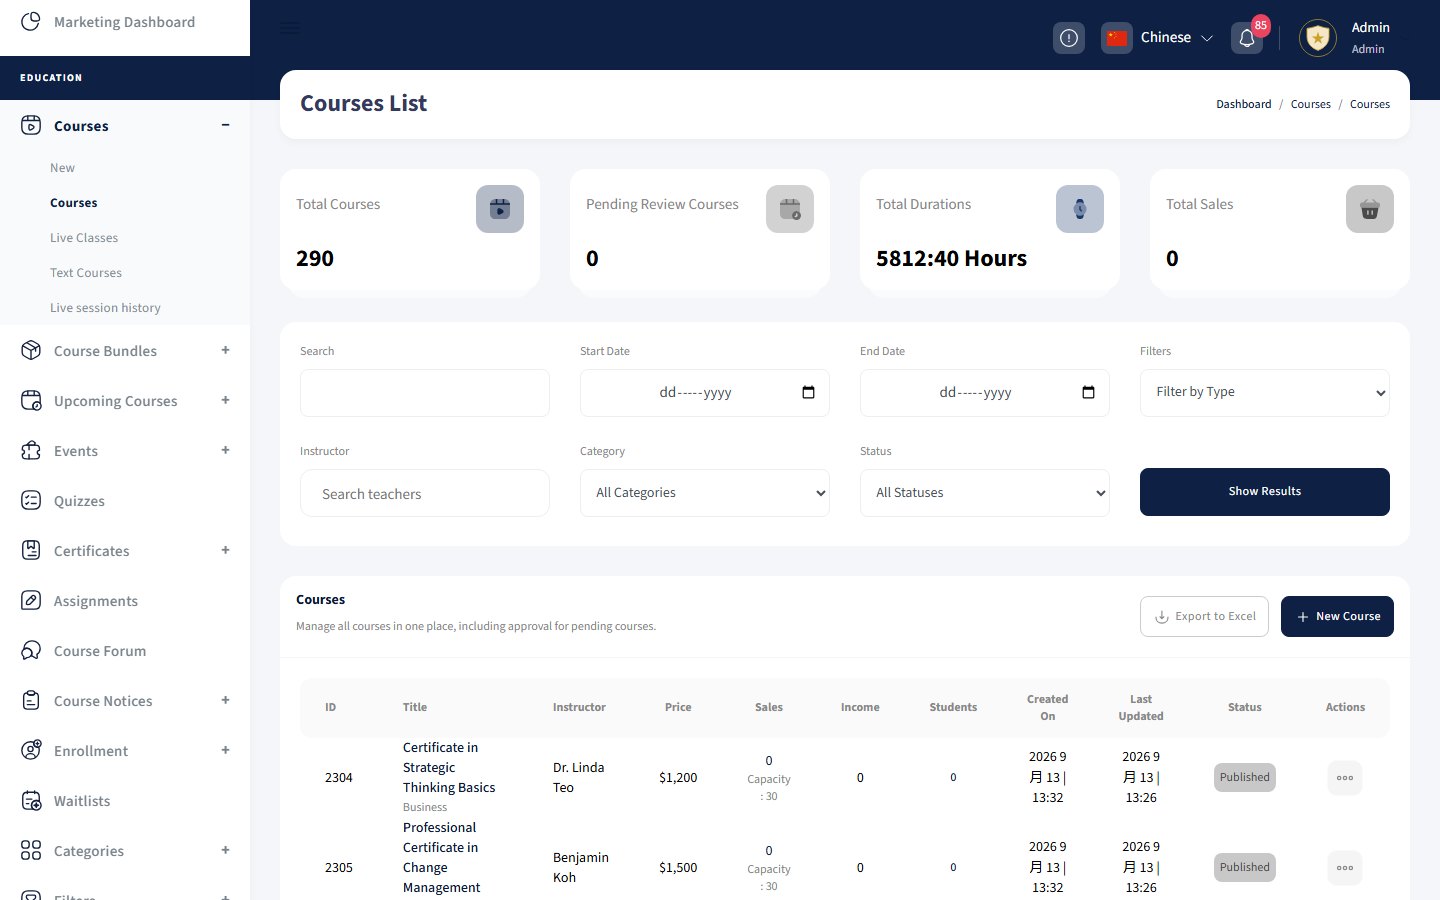
Illustrative screenshot — Wizard Step 5 of 8 — Prerequisites. Screenshot controls in this image are not clickable and may not match the current live UI.
Step 5 — Prerequisites
Learning-path workflow
Prerequisites appear on the course page. Click Add, search existing courses, and mark Required or Optional.
Required
Student must complete the prerequisite before they can enroll.
Use for gated certification pathsOptional
Shown as recommended preparation only — no enrollment block.
Use for soft guidanceNone
Skip this step for standalone courses with no prior learning.
Most evergreen courses