
Preparing
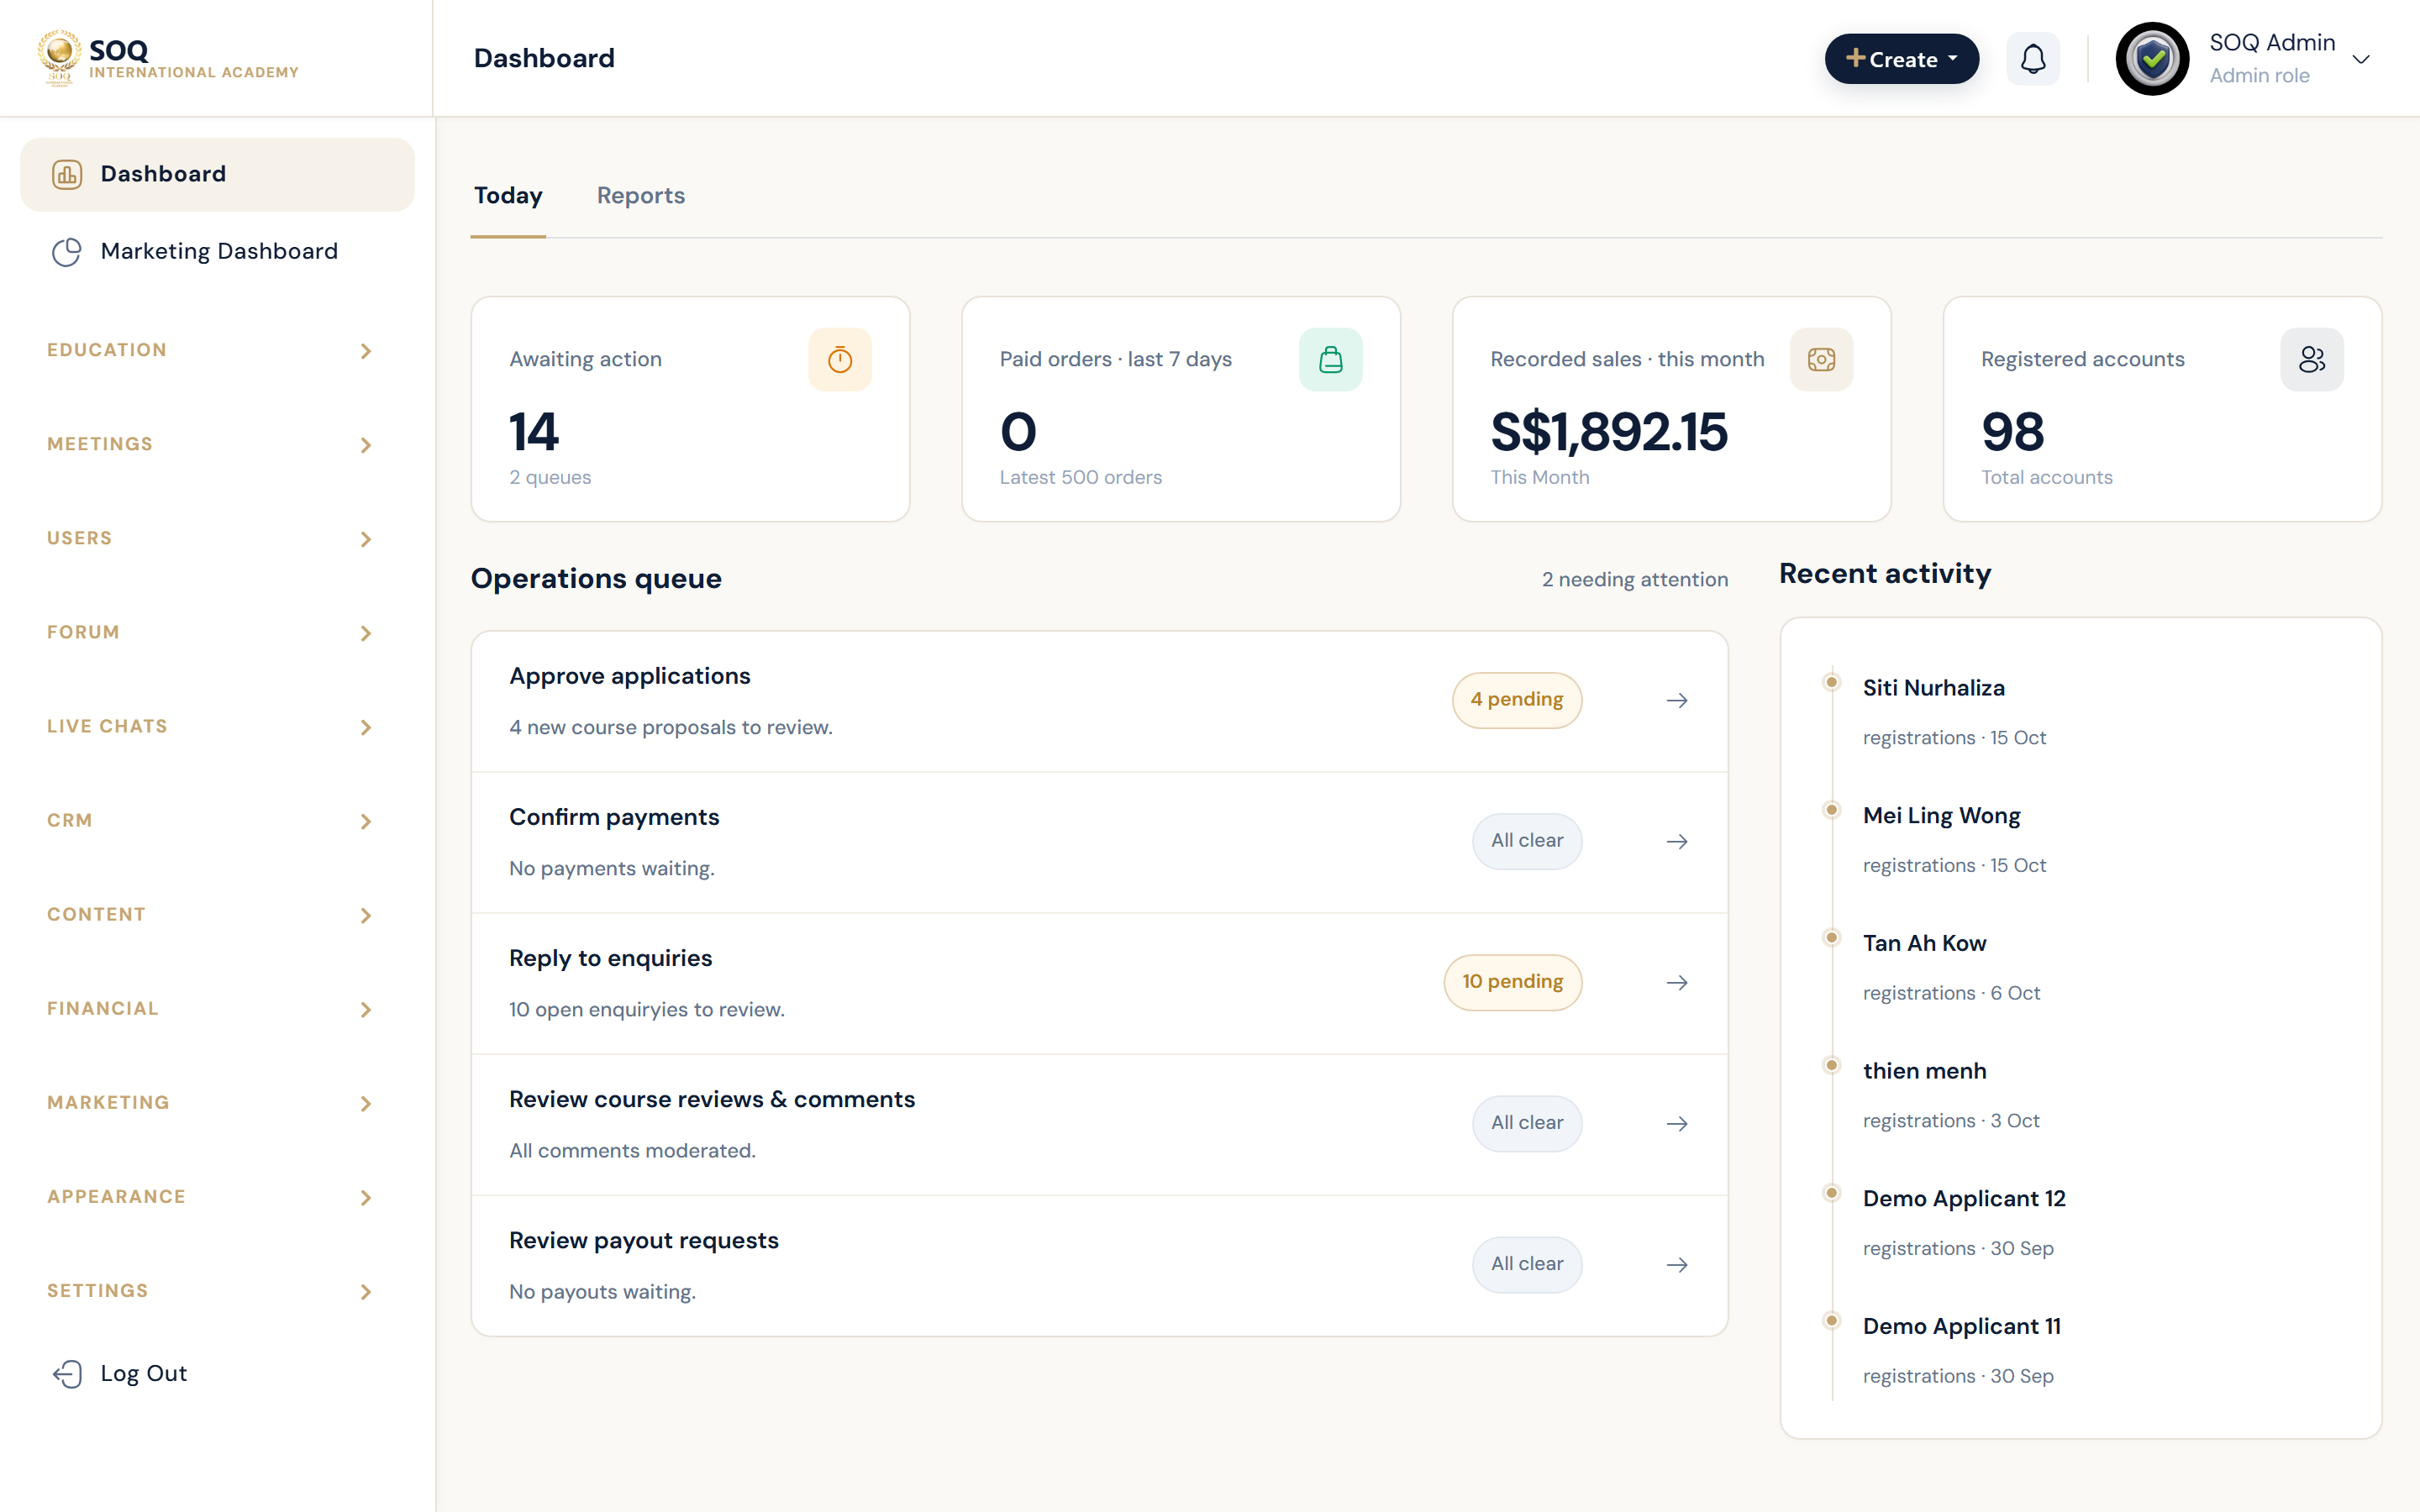
Live screenshot from the SOQ beauty demo (aiacademy.aiee.dev).
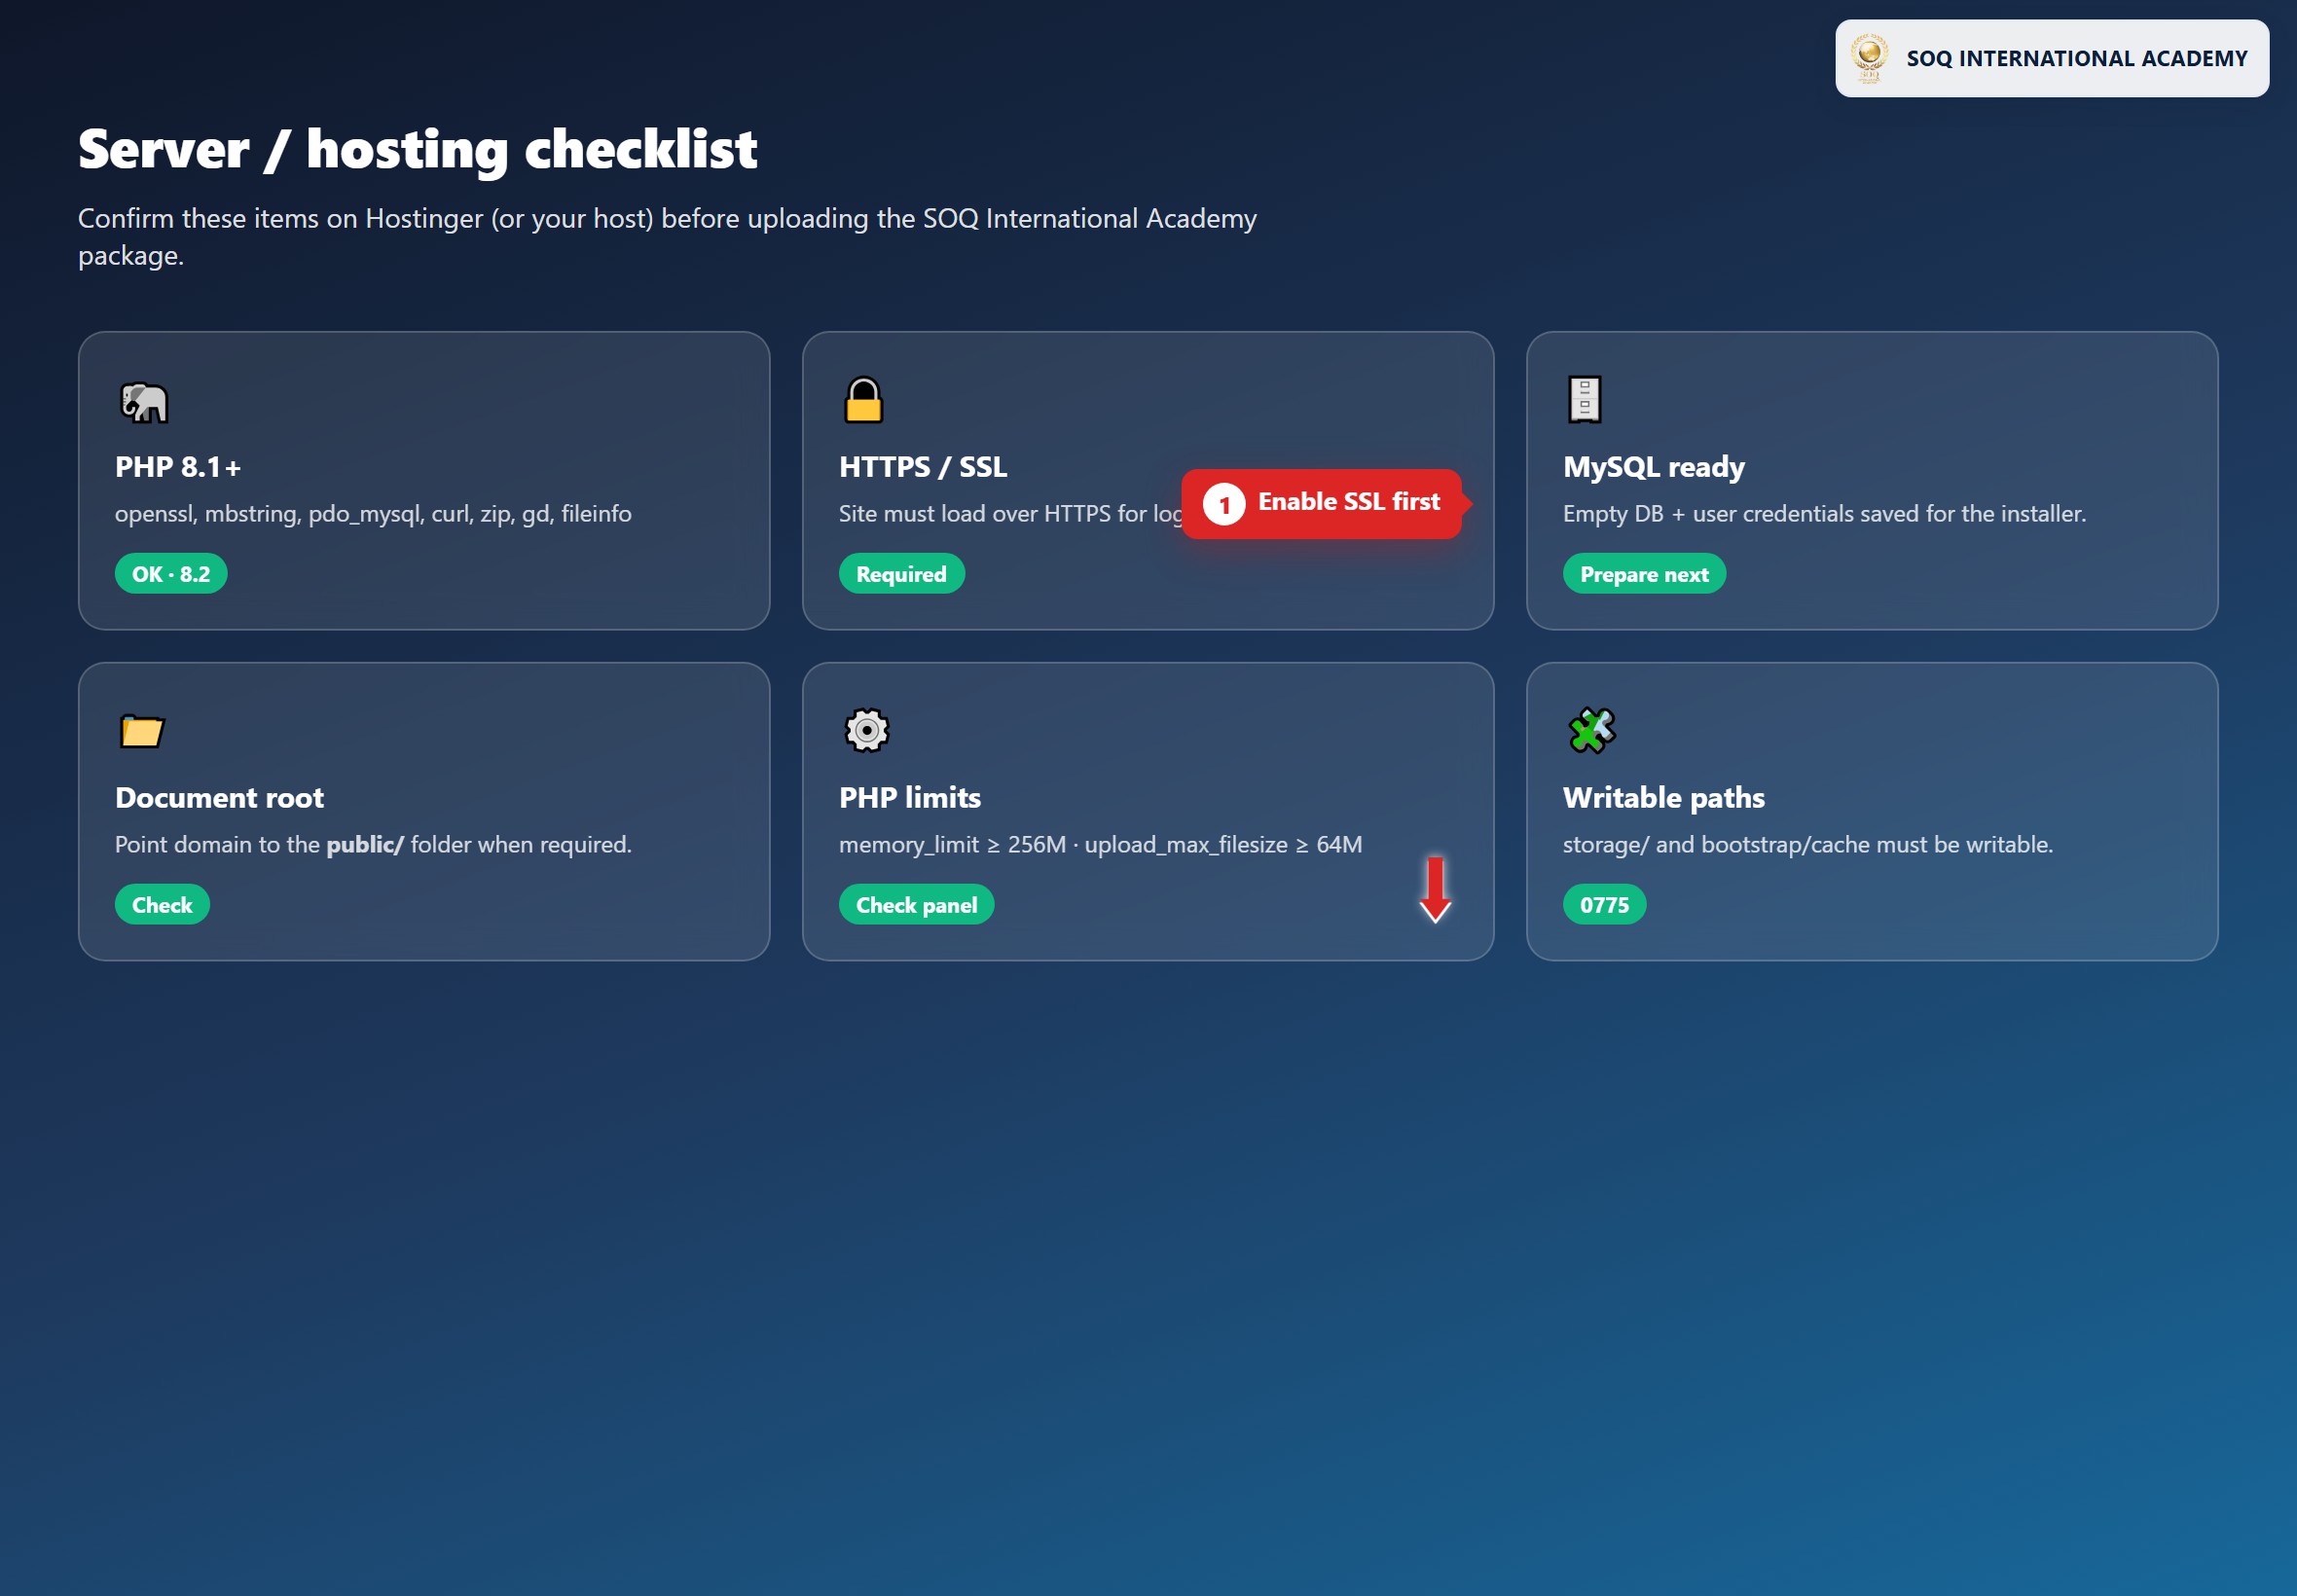
Illustrative screenshot “ Preparing ” Step 1 — Server / hosting checklist. Screenshot controls in this image are not clickable and may not match the current live UI.
Preparing — Step 1
What this screen is
Confirm hosting meets SOQ International Academy requirements before upload.
What you see
Checklist or screenshot of environment basics (PHP, MySQL, HTTPS).
Field / control guide
- PHP version: Use PHP 8.1+ (8.2 recommended) on Contabo VPS or your host — see Requirements.
- Extensions: Ensure required PHP extensions (openssl, mbstring, etc.) are on.
- HTTPS: Site must load over HTTPS for login and payments.
How to complete the task
- Review hosting requirements.
- Enable HTTPS and PHP extensions.
- Note database credentials for later.
Notes / pitfalls: Skipping HTTPS breaks secure cookies and some gateways.
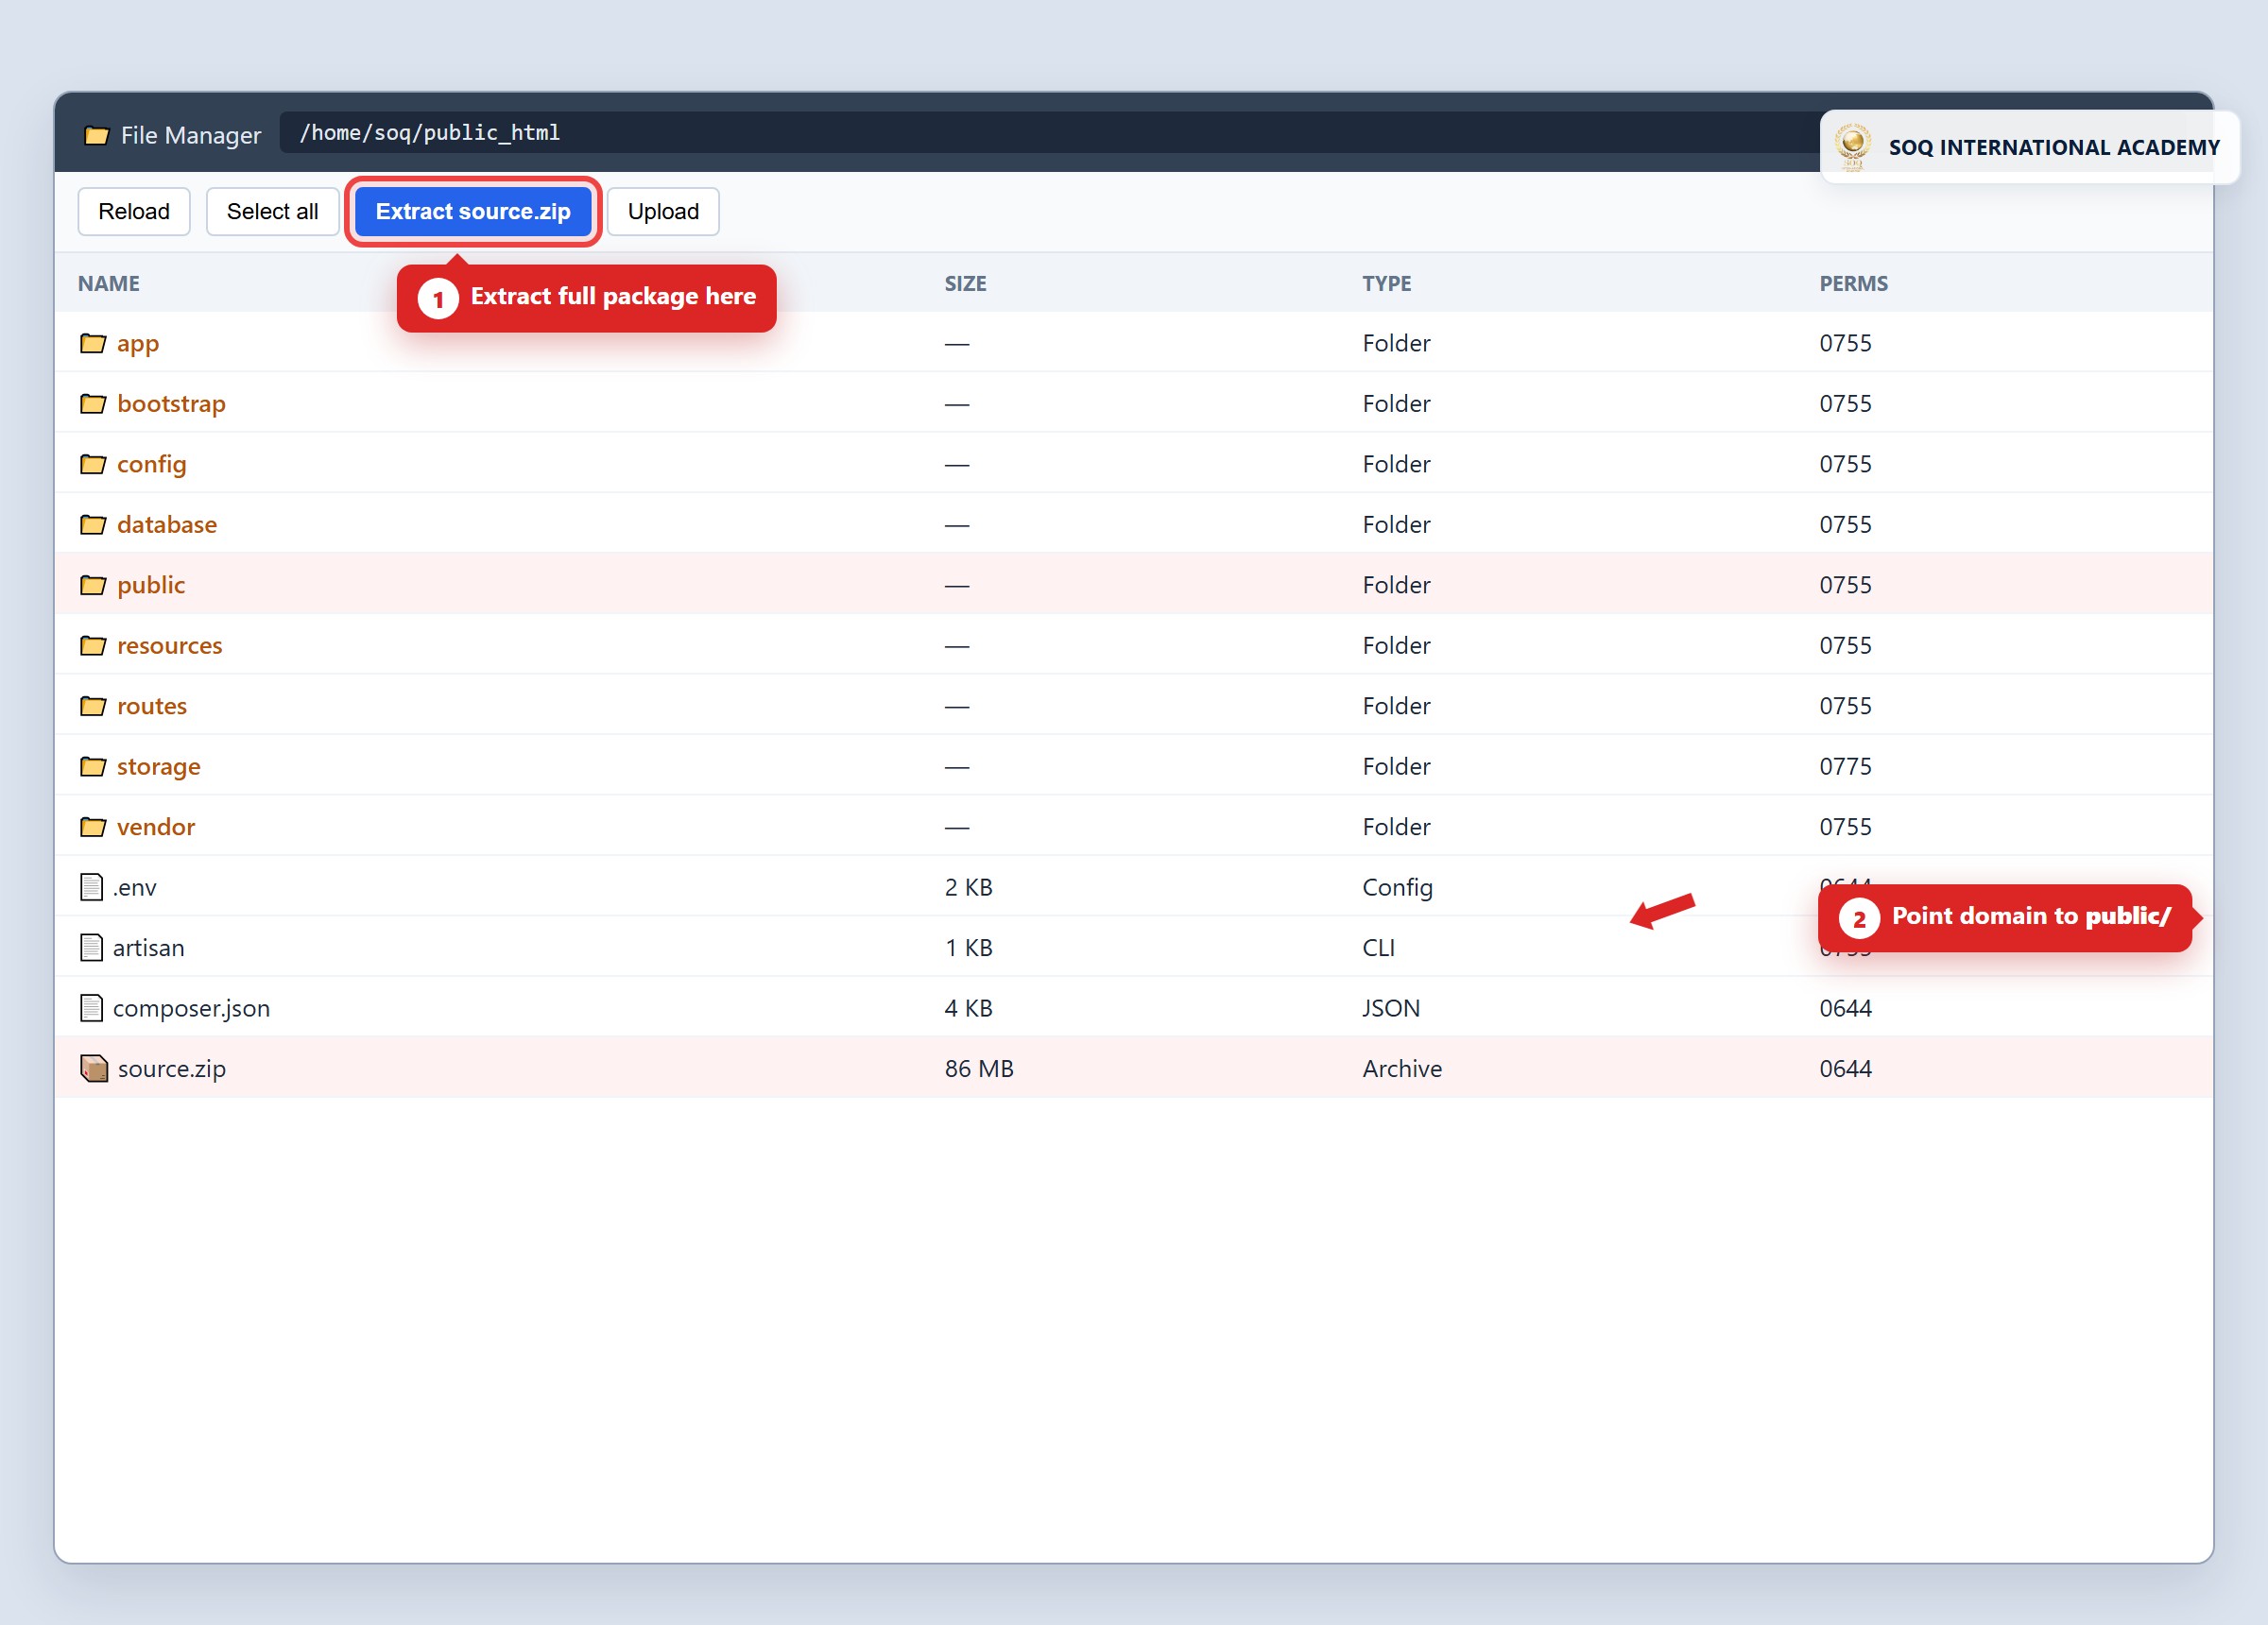
Illustrative screenshot “ Preparing ” Step 2 — Upload package files. Screenshot controls in this image are not clickable and may not match the current live UI.
Preparing — Step 2
What this screen is
Upload the SOQ International Academy package to the web root.
What you see
File manager or FTP view of uploaded folders.
Field / control guide
- Document root: Point the domain to the public web root for the app.
- Permissions: Writable folders for storage and cache as required.
- Archive: Extract the full package; do not omit vendor or public assets.
How to complete the task
- Upload or extract the package.
- Confirm index entry points exist.
- Keep credentials offline until install.
Notes / pitfalls: Partial uploads cause missing assets and blank pages.
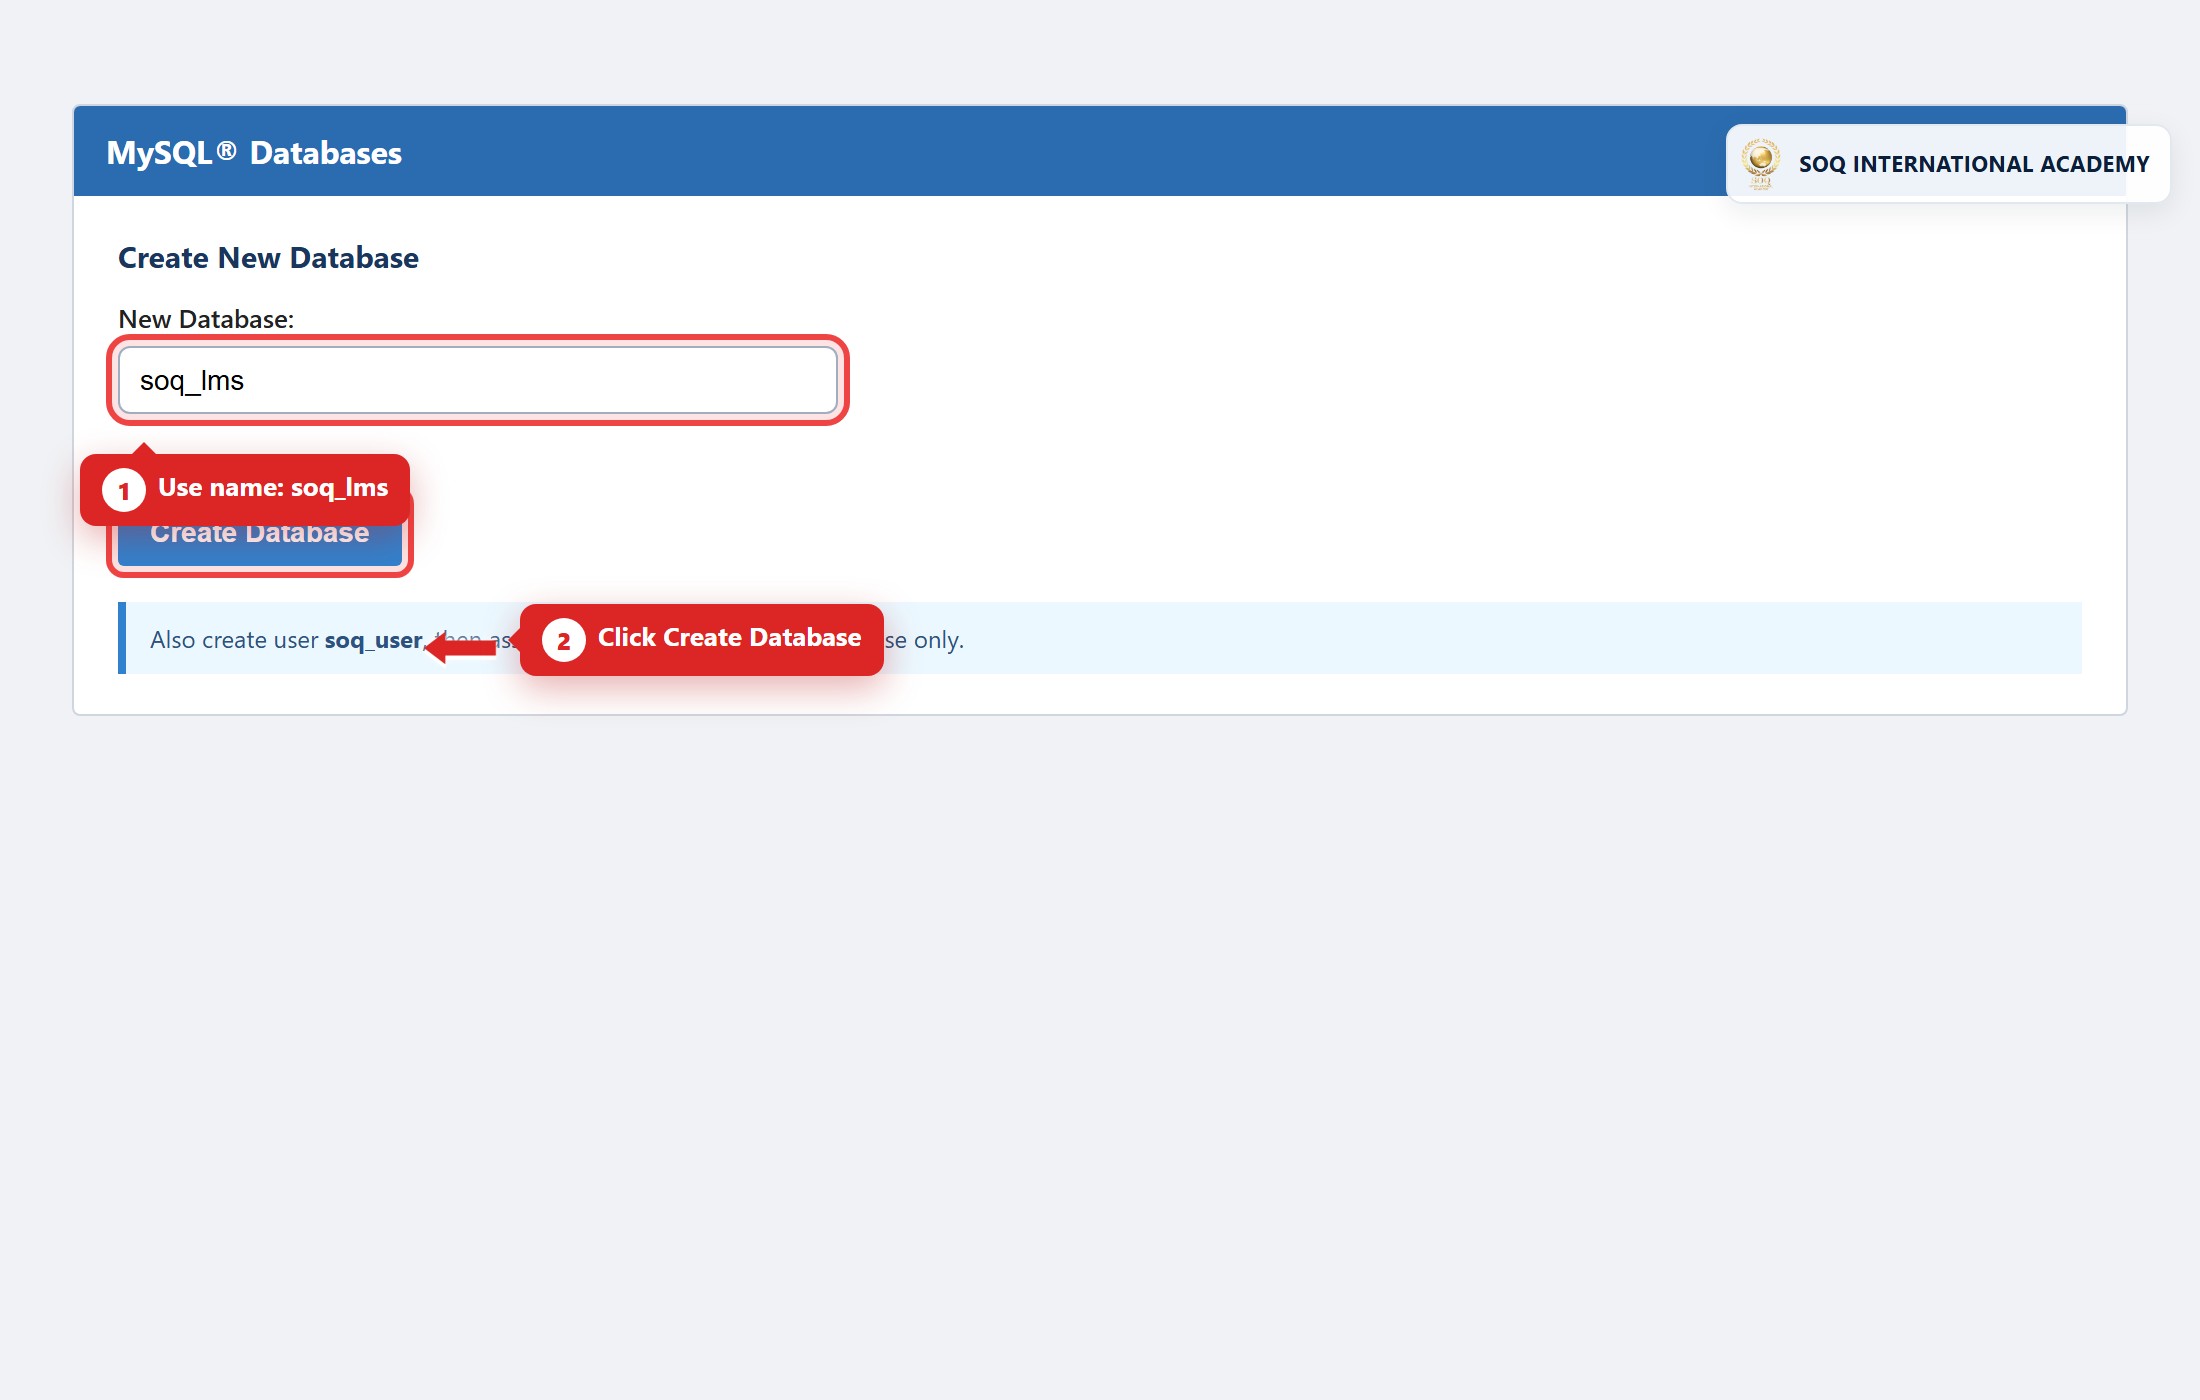
Illustrative screenshot “ Preparing ” Step 3 — Database ready. Screenshot controls in this image are not clickable and may not match the current live UI.
Preparing — Step 3
What this screen is
Create an empty MySQL database and user for the installer.
What you see
Database panel with DB name and user.
Field / control guide
- Database name: Create a dedicated DB for this site.
- DB user: Grant full rights on that database only.
- Host: Usually
127.0.0.1/ localhost on the same VPS.
How to complete the task
- Create DB and user in Contabo / MySQL panel (or local MySQL for XAMPP).
- Save host, name, user, password.
- Do not reuse production DBs.
Notes / pitfalls: Wrong credentials fail Artisan migrate / app boot — fix .env DB_* values.
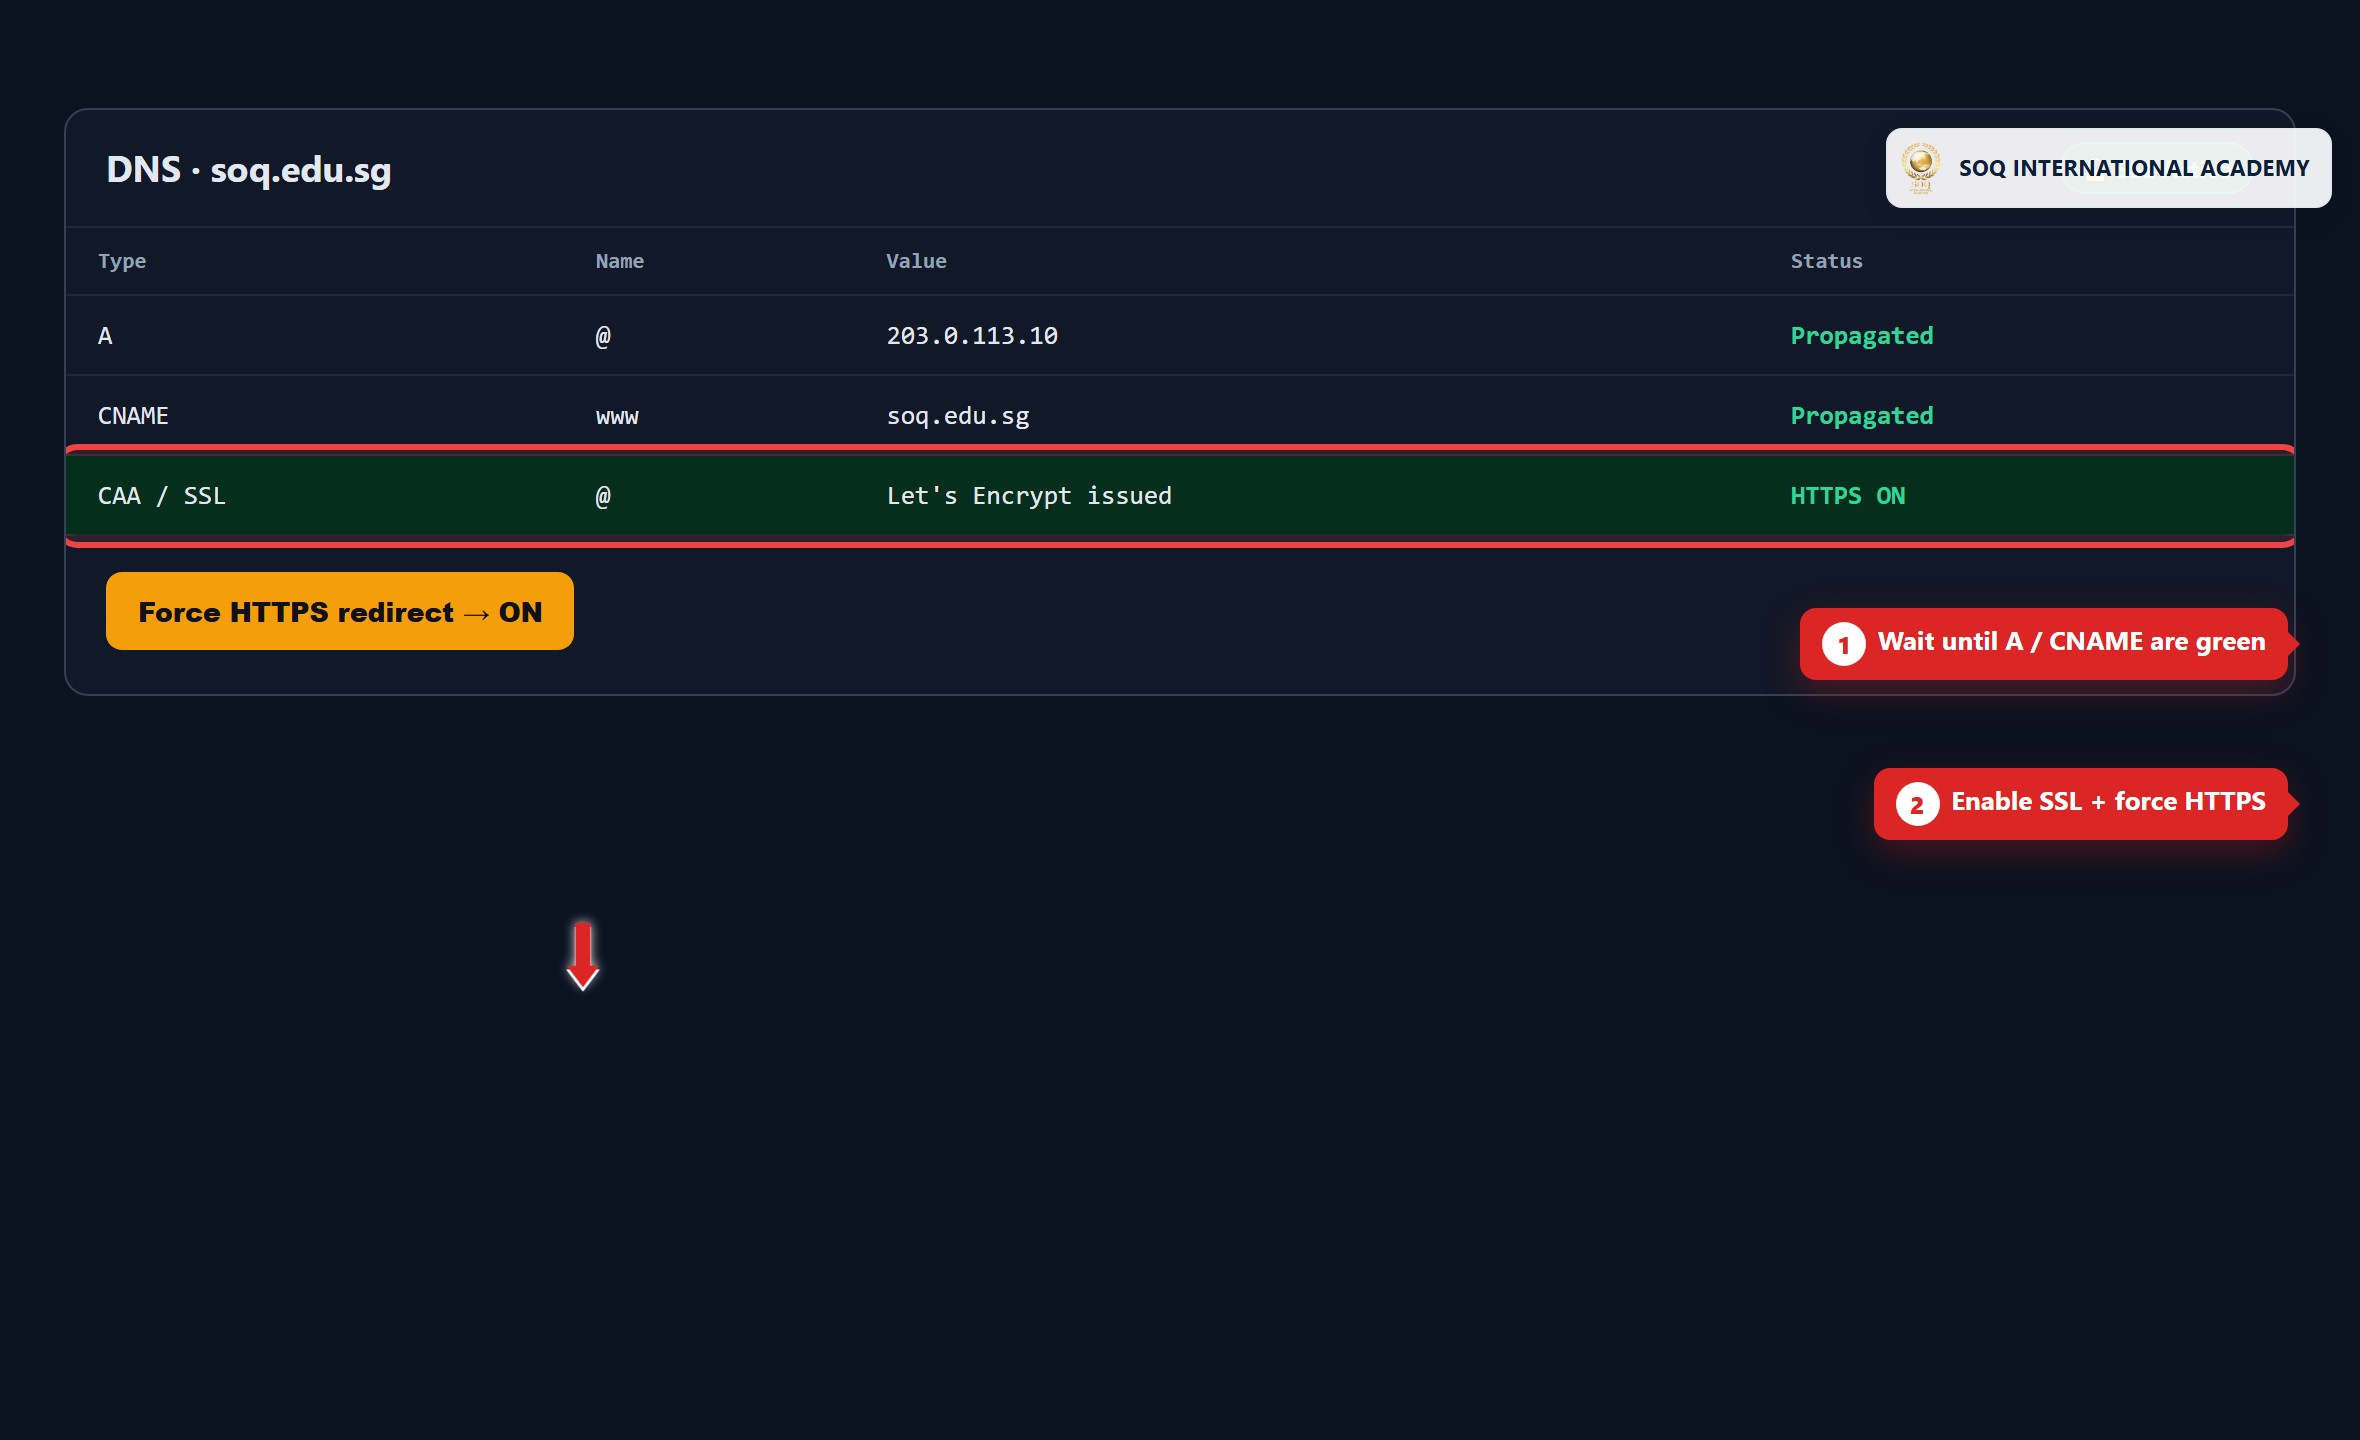
Illustrative screenshot “ Preparing ” Step 4 — Domain and DNS. Screenshot controls in this image are not clickable and may not match the current live UI.
Preparing — Step 4
What this screen is
Point the domain (e.g. soq.edu.sg or subdomain) at the hosting account.
What you see
DNS / domain mapping screen.
Field / control guide
- A / CNAME: Point apex or www A/AAAA records to your Contabo VPS IP (or local hosts for XAMPP).
- SSL: Issue Let's Encrypt or host SSL after DNS propagates.
- WWW: Decide canonical host and redirect the other.
How to complete the task
- Update DNS.
- Wait for propagation.
- Enable SSL.
Notes / pitfalls: Installer cookies fail if you mix http and https hosts.
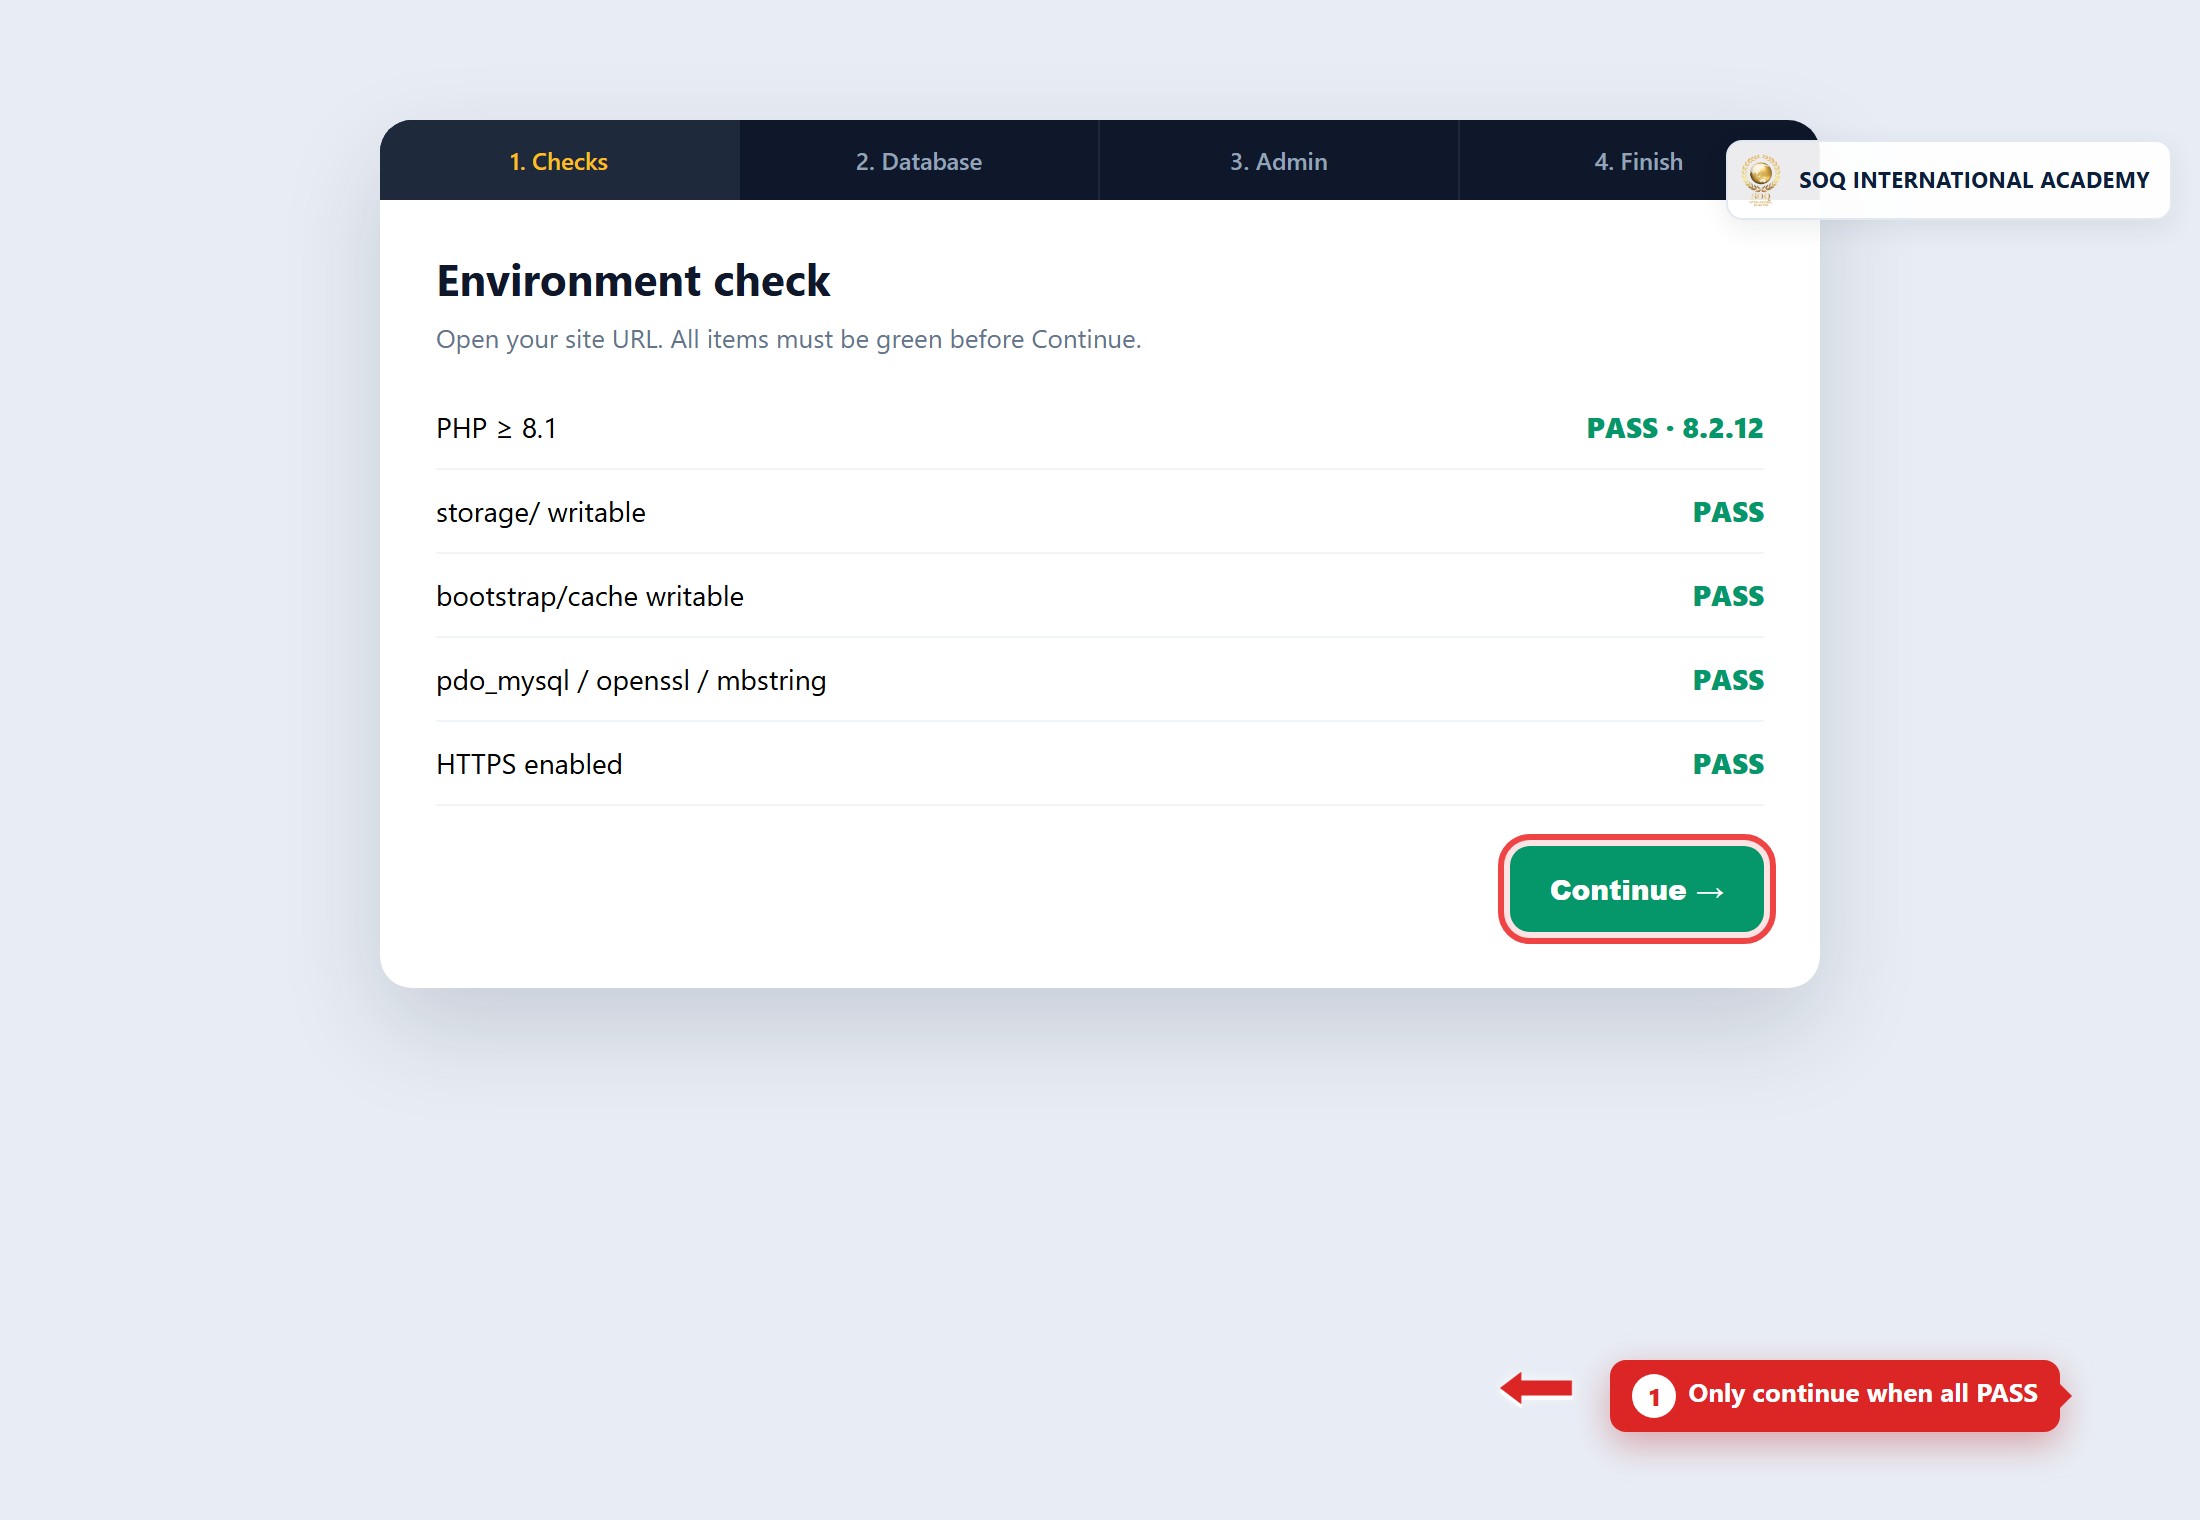
Illustrative screenshot “ Preparing ” Step 5 — Installer environment. Screenshot controls in this image are not clickable and may not match the current live UI.
Preparing — Step 5
What this screen is
Open the installer URL and pass environment checks.
What you see
Installer permission / extension checklist.
Field / control guide
- Writable paths: Fix any red permission items.
- PHP limits: Raise upload/memory if flagged.
- Continue: Proceed only when all checks are green.
How to complete the task
- Open the site URL.
- Fix failed checks.
- Continue to
.envDB settings and Artisan migrate (see Installation).
Notes / pitfalls: Ignoring red items leads to failed migrations.
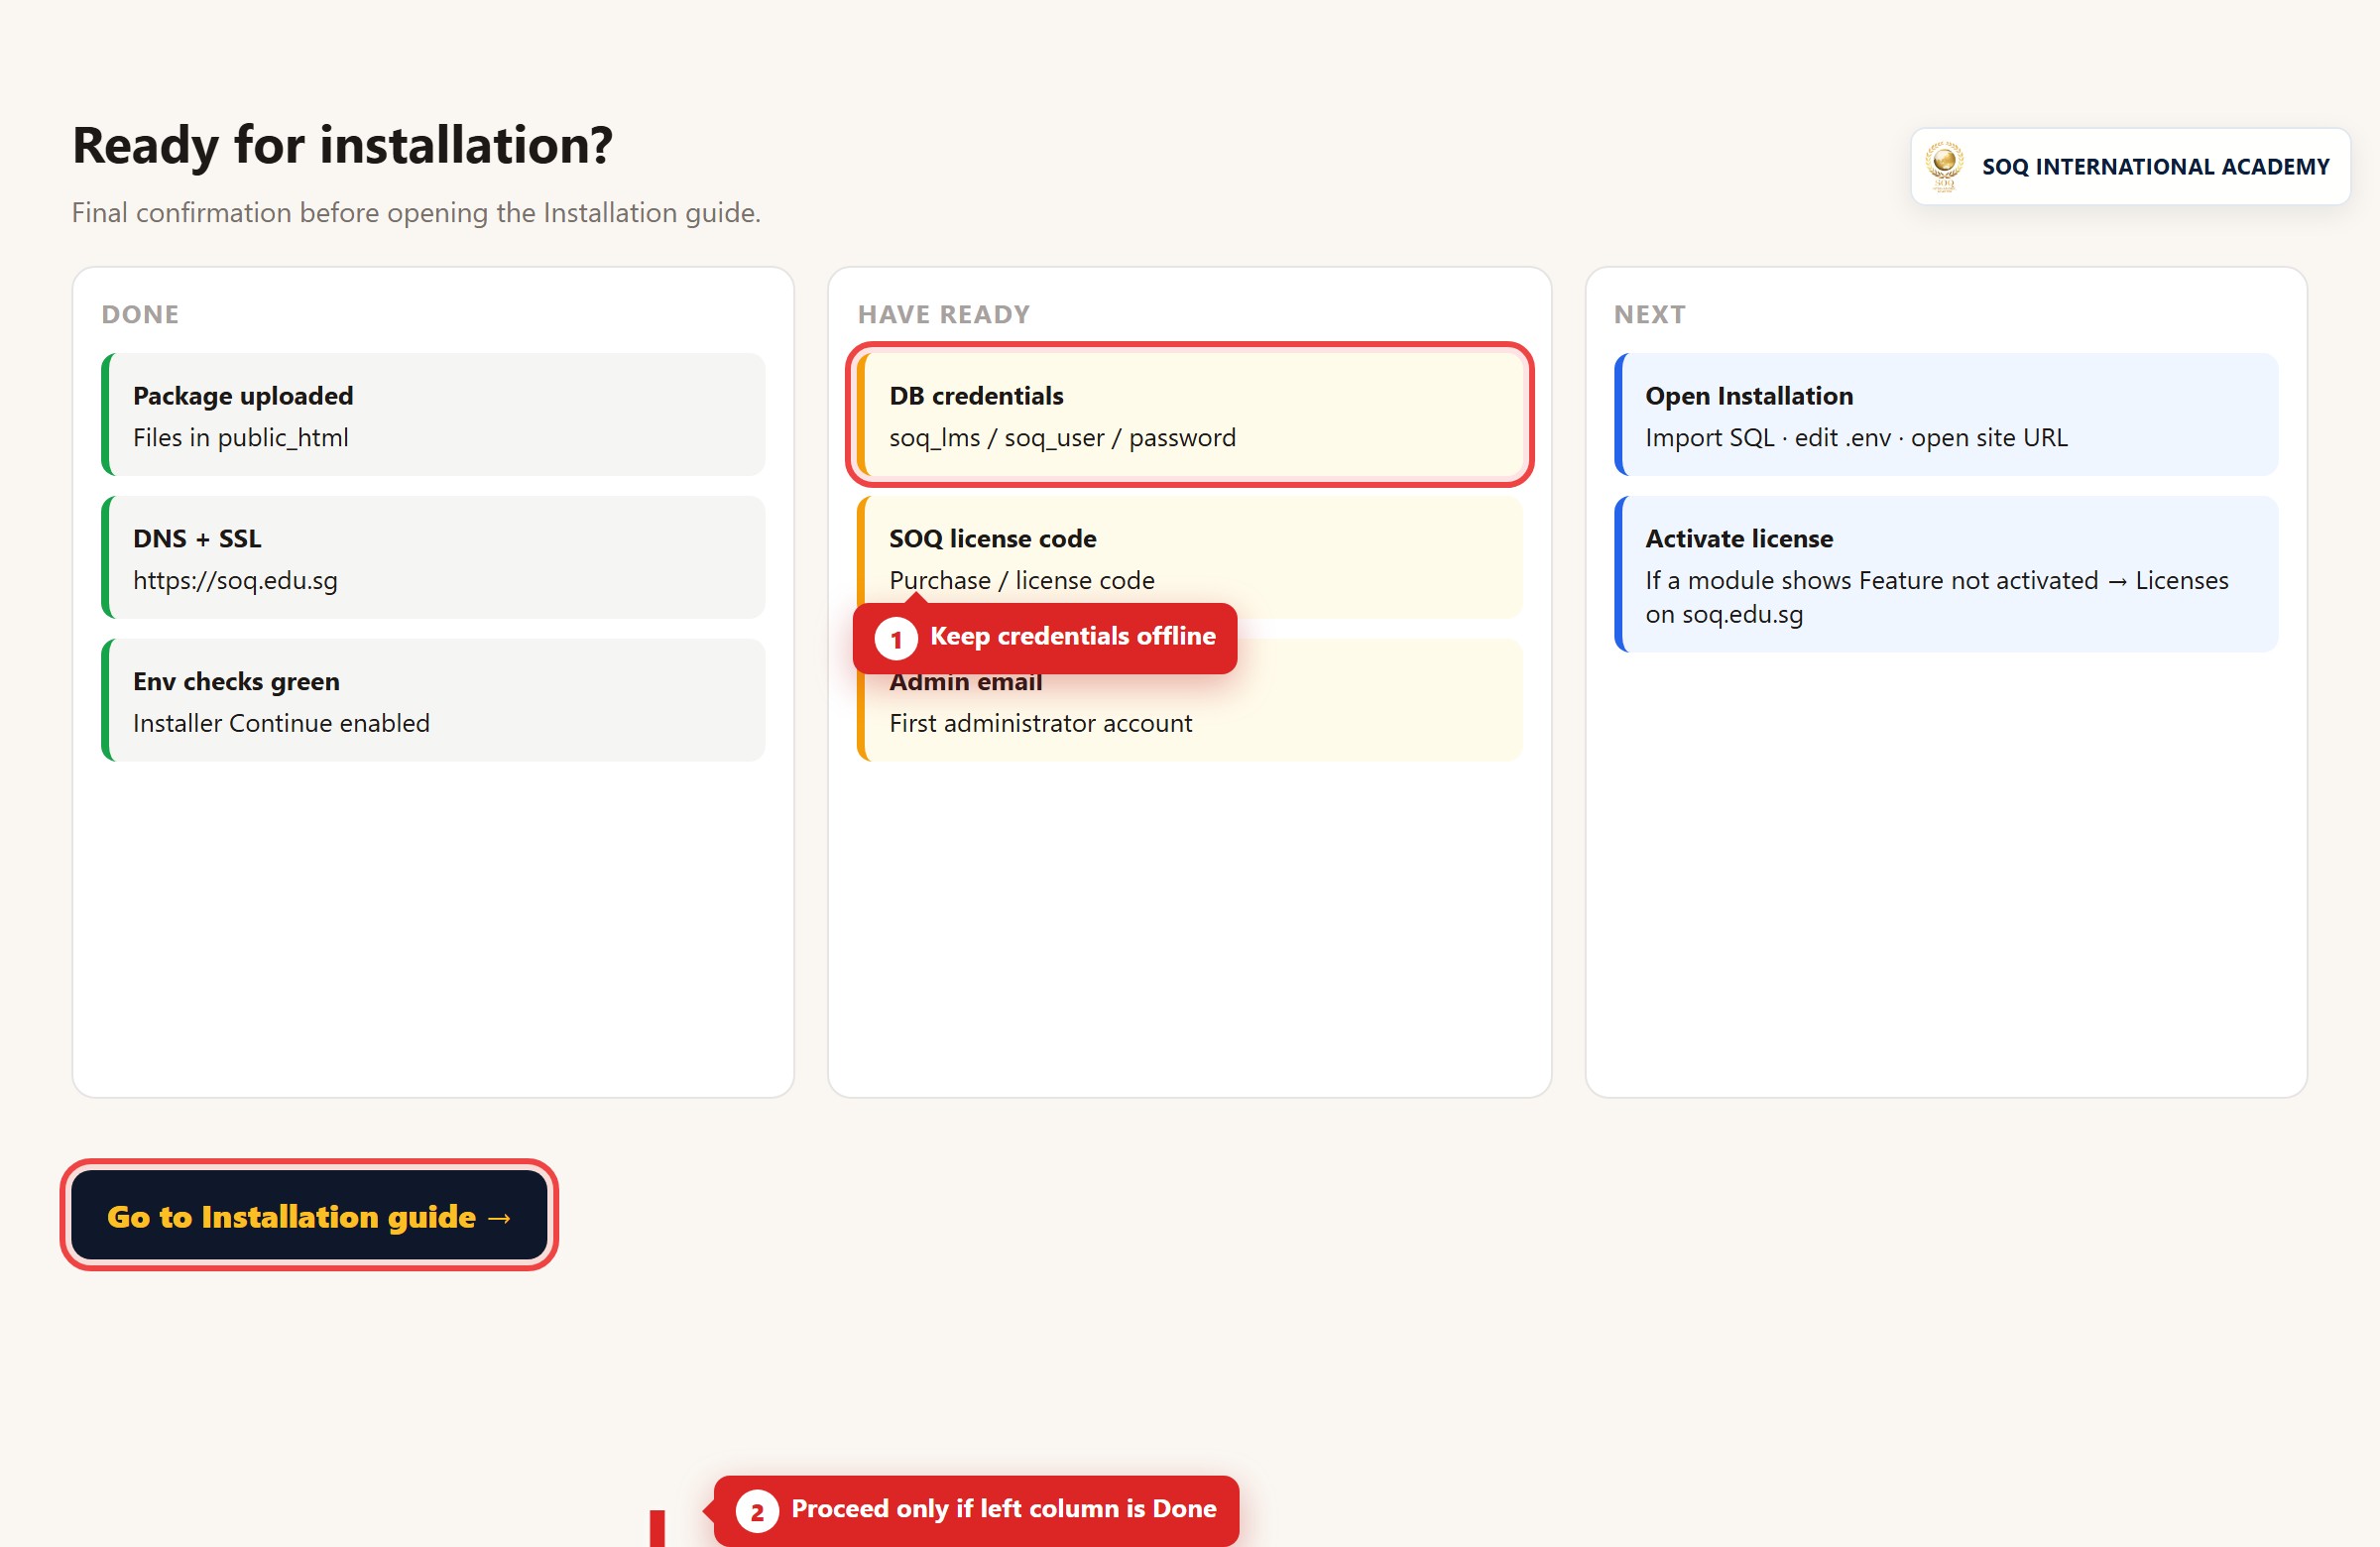
Illustrative screenshot “ Preparing ” Step 6 — Ready for install. Screenshot controls in this image are not clickable and may not match the current live UI.
Preparing — Step 6
What this screen is
Final confirmation that files, DB, and SSL are ready for installation.
What you see
Summary checklist before migrate + seed (see Installation).
Field / control guide
- Admin email: Prepare the first admin account email.
- Feature activation: Configure optional modules under Admin → Settings / Features.
- Backup: Snapshot or backup empty DB before first install.
How to complete the task
- Confirm checklist complete.
- Proceed to the Installation guide (migrate + seed — no SQL dump import).
- No feature activation step on this build — continue with Installation.
Notes / pitfalls: If a module is missing, enable it under Admin → Features / Settings (Activations UI is not used).